ExcelMerger Pro: Combine Multiple Excel Files Into One
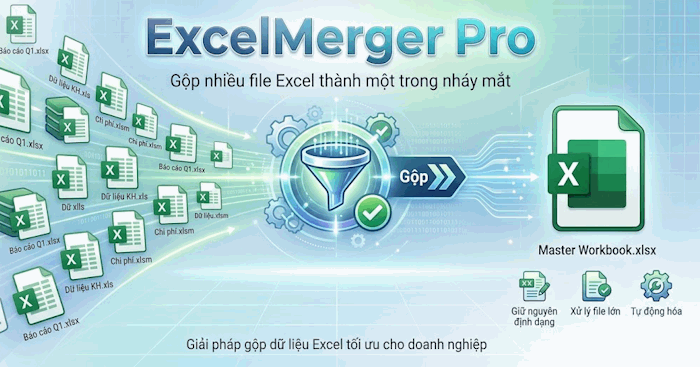
Manually consolidating data from multiple Excel files into one is tedious and error-prone. ExcelMerger Pro streamlines this process with an online tool that lets you combine spreadsheets instantly—no additional software needed.
The tool works with various file formats and gives you full control over how files merge together. Here's everything you need to know about using ExcelMerger Pro to consolidate your Excel data efficiently.
What Features Does ExcelMerger Pro Offer?
ExcelMerger Pro delivers key capabilities that make combining spreadsheets straightforward and hassle-free:
- Batch file merging: Combine data from multiple spreadsheets into a single consolidated file.
- Multiple format support: Works with XLSX, XLS, XLSM, and ODS files.
- Custom file ordering: Arrange files in any sequence before merging.
- Sheet selection: Pick which sheet from each file gets included in the final output.
- Automatic column matching: Intelligently aligns columns across files based on headers.
- Source file tracking: Optionally records the original filename for data traceability.
- Browser-based processing: All work happens locally on your device—nothing uploads to external servers.
- Direct download: Export your merged data as an Excel file ready to use.
How to Merge Excel Files Using ExcelMerger Pro
Step 1:
Open ExcelMerger Pro in your browser. In the main interface, upload the Excel files you want to combine. The tool accepts .xlsx, .xls, .xlsm, and .ods formats. Keep in mind that each file processes only one worksheet.

Step 2:
Once uploaded, you'll see basic information about each file: file size, row count, and column count. This preview helps you verify you've selected the right spreadsheets.

Next, specify which worksheet from each file to include. Click the dropdown arrow next to each file's sheet list and select your preferred worksheet.

You can also reorder your files using the up and down arrows. File sequence matters because it determines the order of data in your final merged spreadsheet.

Step 3:
Scroll down to the merge configuration section where you'll find additional options. Adjust these settings to match your needs, then click Merge Excel Files to proceed.

Step 4:
The tool immediately displays your merged data in a table format. You'll see source filenames (if enabled), and rows organized according to your file ordering preferences. What's interesting here is how the tool preserves data integrity while combining everything seamlessly.


A built-in search function lets you find specific data within your merged file—useful for quick verification before download.

Step 5:
Review the entire merged table to confirm everything looks correct. If something's wrong, hit Start Over to adjust your settings and try again.
If you're satisfied, click Download .xlsx File to save your completed spreadsheet. Choose Merge Another Set if you need to combine additional files.

Important Tips for Merging Excel Files
- Verify data consistency: Use files with similar data structures to ensure accurate merging results.
- Select the right sheet: Since each file processes only one worksheet, double-check your selections beforehand.
- Pay attention to file order: The sequence you choose directly impacts the row order in your output file.
- Standardize column names: Align column headers across all files so the tool matches and combines data correctly.
- Validate your output: After downloading, open the merged file and scan for missing or corrupted data.
Description: Learn how to merge multiple Excel spreadsheets into a single file using ExcelMerger Pro. No software installation required.
Related Articles
- The 5 Best AI Recruitment Tools to Transform Your Hiring Process
- The Best AI Programming Tools You Should Know About in 2024
- Getting Started with Google Flow Music: Complete Guide to Creating Music and Playlists
- Master Claude Projects: Build Your Personal AI Assistant Space
- Meta's New AI Can Generate Deepfakes From Your Instagram Photos—Here's How to Protect Yourself

No Comment to " ExcelMerger Pro: Combine Multiple Excel Files Into One "