10 Easy Ways to Clean Up and Free Space on Your Windows C: Drive
When your C: drive gets cramped, your entire system suffers. You'll notice sluggish performance, freezing, and that dreaded "disk full" warning. The real concern is that your C: drive houses critical Windows system files and essential programs—so maintaining free space here directly impacts how smoothly your computer runs. Learning how to properly clear out unnecessary files is essential if you want to keep your machine running at peak performance.
This guide walks you through 10 practical techniques you can use right now to reclaim valuable storage space on your C: drive.
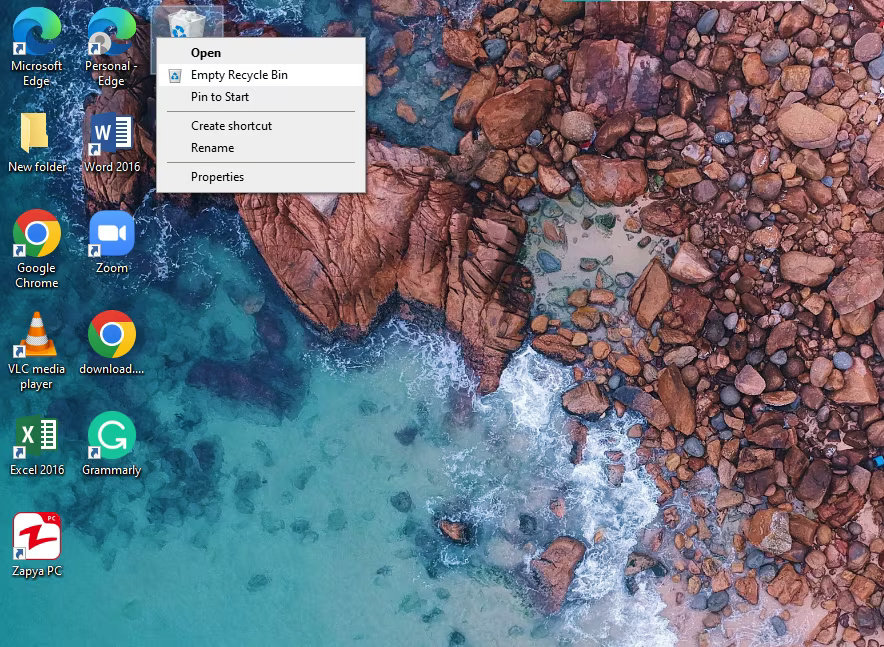
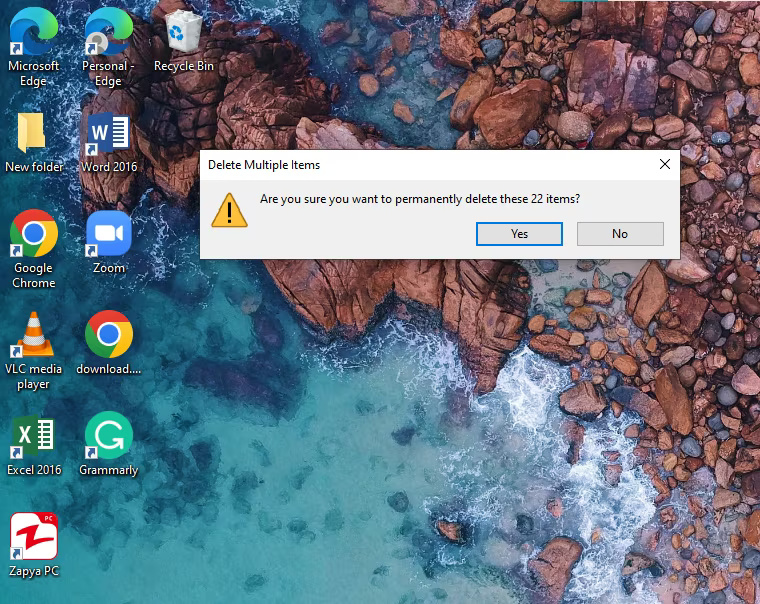
Method 1: Empty Your Recycle Bin Completely
Your Recycle Bin is holding deleted files hostage. If it's full, it's time to permanently purge it. By default, the Recycle Bin reserves 5% of your drive's partition space. While Windows automatically overwrites old deleted files when it hits capacity, that 5% allocation still ties up real estate on your drive. You can manually empty it in seconds.
1. Right-click the Recycle Bin icon on your desktop.
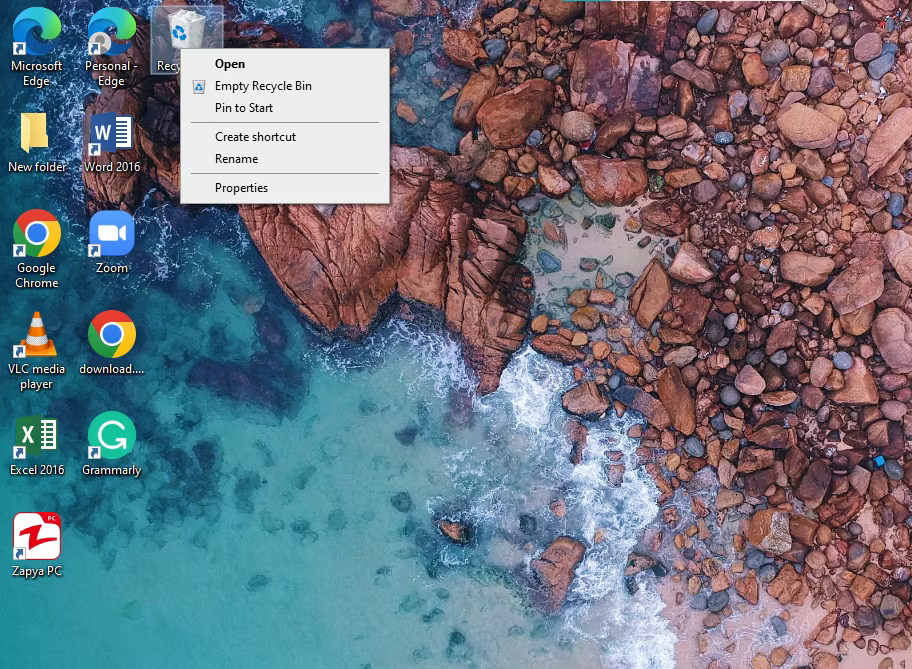
2. Select Empty Recycle Bin from the menu.
3. Click Yes in the confirmation dialog.
Worried you deleted something important? Don't panic. There are methods available to recover files you've removed from the Recycle Bin if needed.
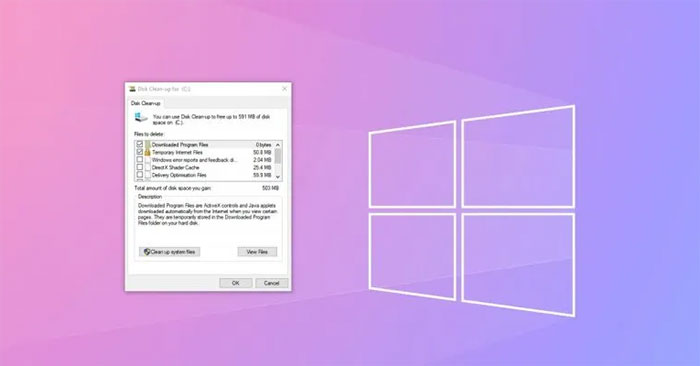
Method 2: Run Windows Disk Cleanup Utility
Windows comes with a built-in Disk Cleanup tool that's surprisingly effective. It hunts down unused and temporary files cluttering your system and removes them safely.
Here's how to use it:
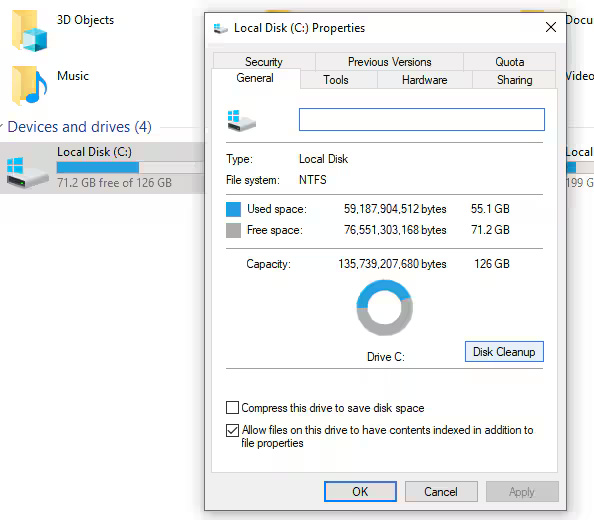
1. Open This Computer (Windows 11/10) or This PC (Windows 7). Right-click your C: drive and select Properties.
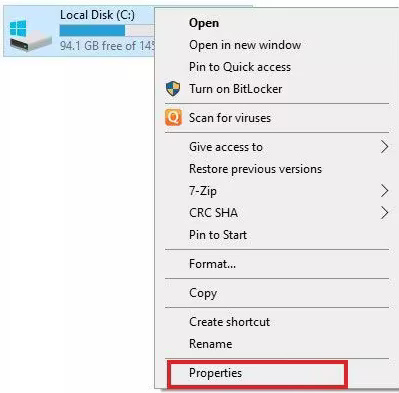
2. In the Properties window, click Disk Cleanup.
3. Check the boxes for file types you want removed—Downloaded Program Files, Temporary Internet Files, Recycle Bin, Temporary Files, and more. You can see exactly what's taking up space.
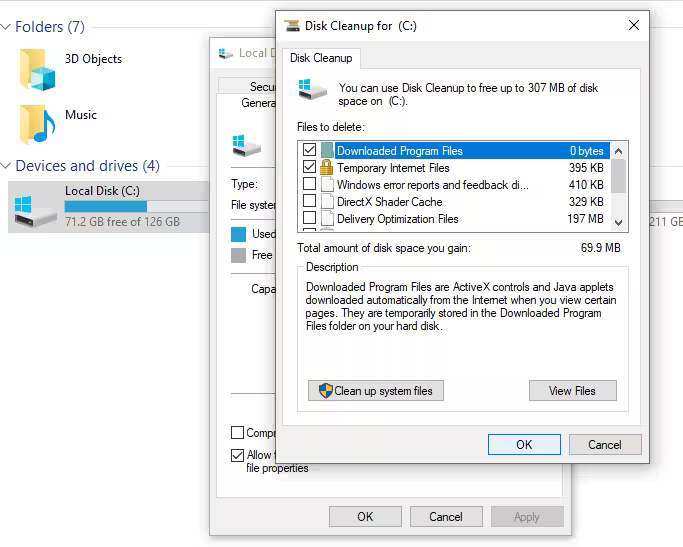
4. Click OK, then confirm by selecting Delete Files in the next window.
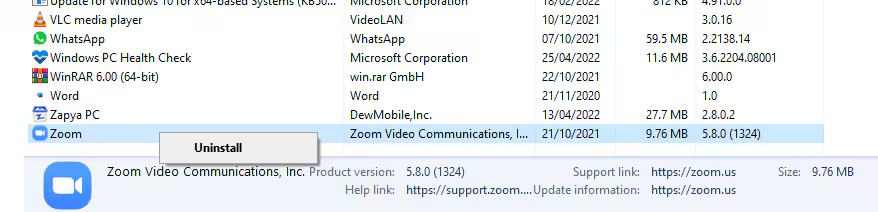
Method 3: Uninstall Applications You Don't Use
Every program you install comes with installer files and temporary data—and all of it defaults to your C: drive. For users with limited storage, this adds up fast. Removing apps you no longer need is one of the most effective ways to reclaim substantial amounts of space.
Follow these steps:
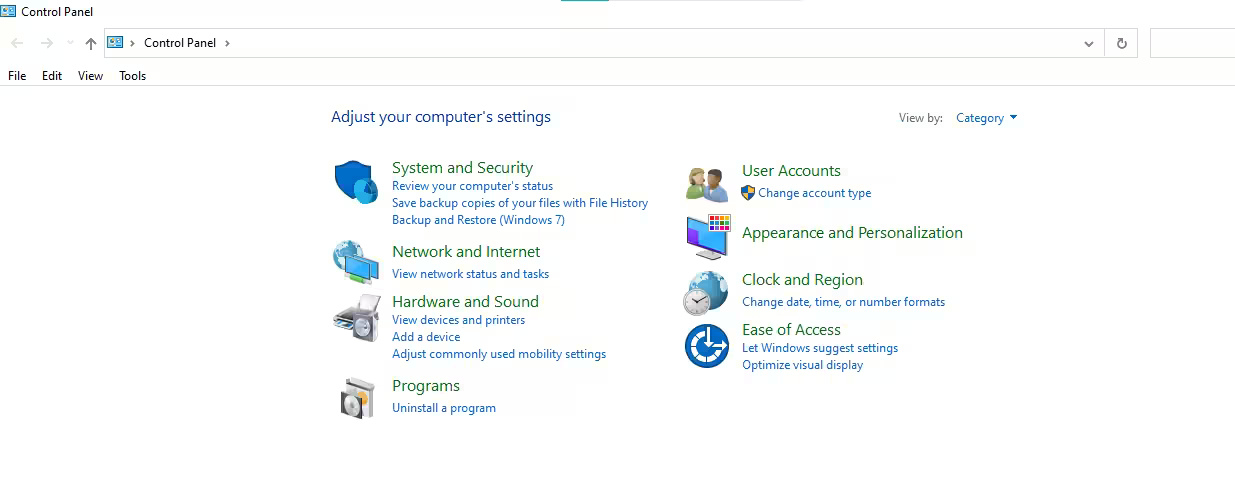
1. Open Control Panel from your Start menu.

2. Navigate to Programs, then click Uninstall a Program.
3. Right-click on any program you want to remove. The Uninstall option will appear. Click it and follow the prompts.
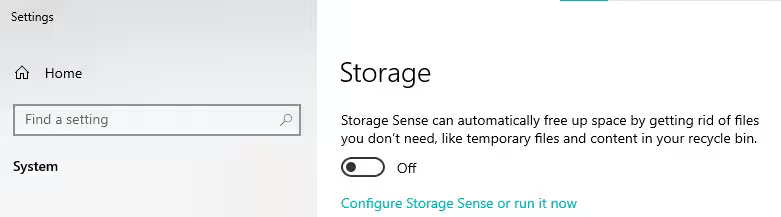
Method 4: Enable Windows Storage Sense
Storage Sense is a background assistant that integrates with OneDrive to automatically free up space. What's interesting here is how it works—it converts rarely-used files you could access locally into cloud-only versions, keeping them accessible through OneDrive while removing them from your physical drive. Your files remain safe and accessible online while your C: drive gets breathing room.
To turn it on:
1. Go to your Start menu and search for Storage Settings.
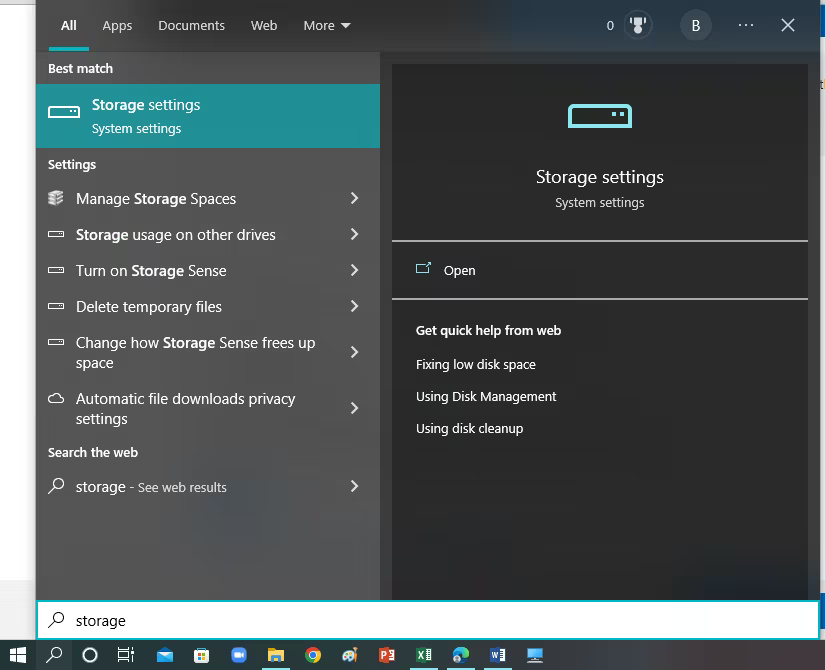
2. Toggle the Storage Sense switch to On.
Method 5: Delete Temporary Files
Temporary files accumulate silently over time—and they can balloon into several gigabytes without you even noticing. Worse, they slow down your system. The payoff here is huge: this method takes just a few minutes but can recover substantial amounts of space.
Try this:
1. Press Win + R to open the Run dialog. Type %temp% and press Enter.
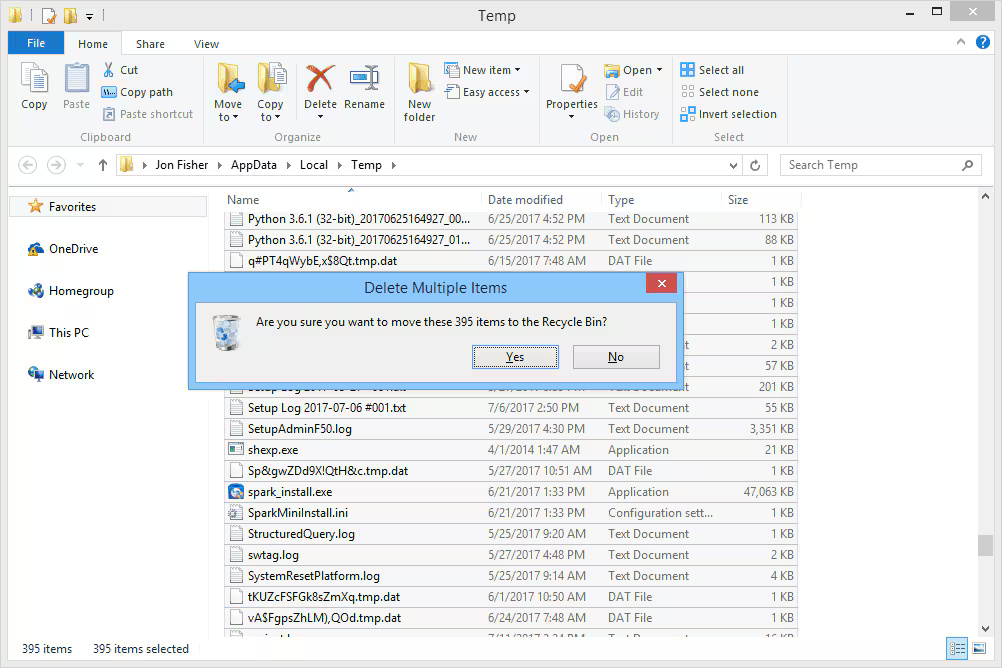
2. A folder packed with thousands of temp files will open. Press Ctrl + A to select everything, then delete them all.
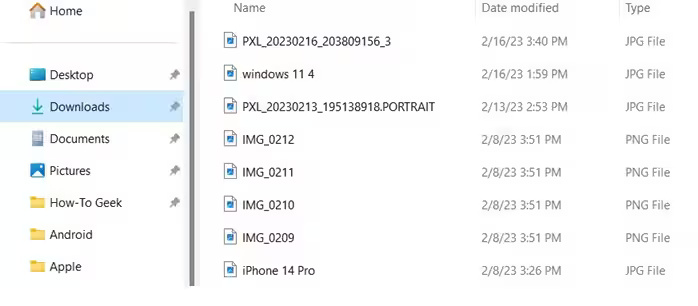
Method 6: Clean Out Your Downloads Folder
Your Downloads folder is basically a junk drawer. Files pile up there and you forget about them. Most people never touch this folder, which means it's often hiding gigabytes of files you'll never need again. What's interesting is that Downloads typically contains massive files—installers, ZIP archives, videos, PDFs—making it a goldmine for reclaiming space without much risk.
Here's what to do:
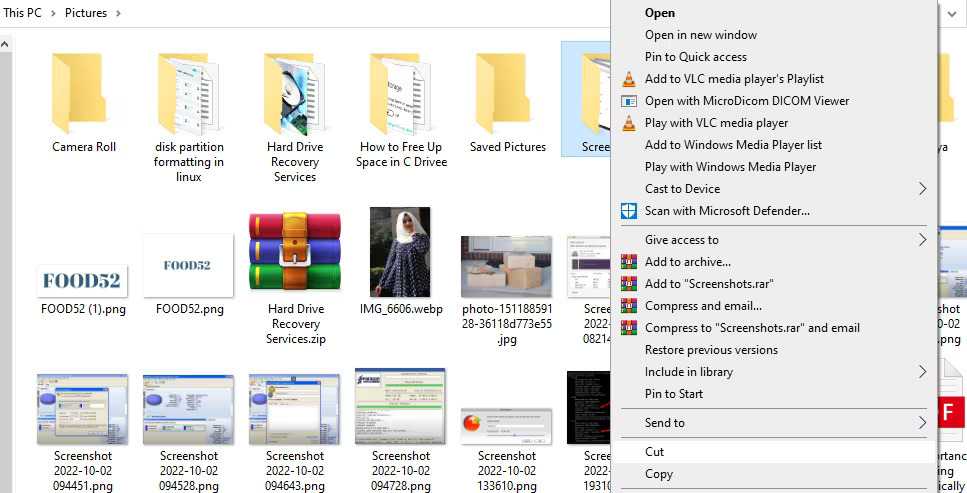
1. Open File Explorer and navigate to C:\\Users\\[Your Username]\\Downloads. Click the View tab at the top. Switch to Details view to see file sizes. Click the Size column header to sort by size.
2. Review your files and select ones you no longer need. Press Delete to move them to Recycle Bin. Move any important files to appropriate folders. Empty your Recycle Bin when you're done.
Method 7: Move Files to Another Drive
If you have a second hard drive or external storage, move your data there. This completely empties your C: drive of non-essential files. Don't have multiple drives? You can partition your C: drive and create a separate partition for user files, though this requires more technical know-how.
To move files to another drive:
Simply cut files from your C: drive and paste them onto your secondary drive.
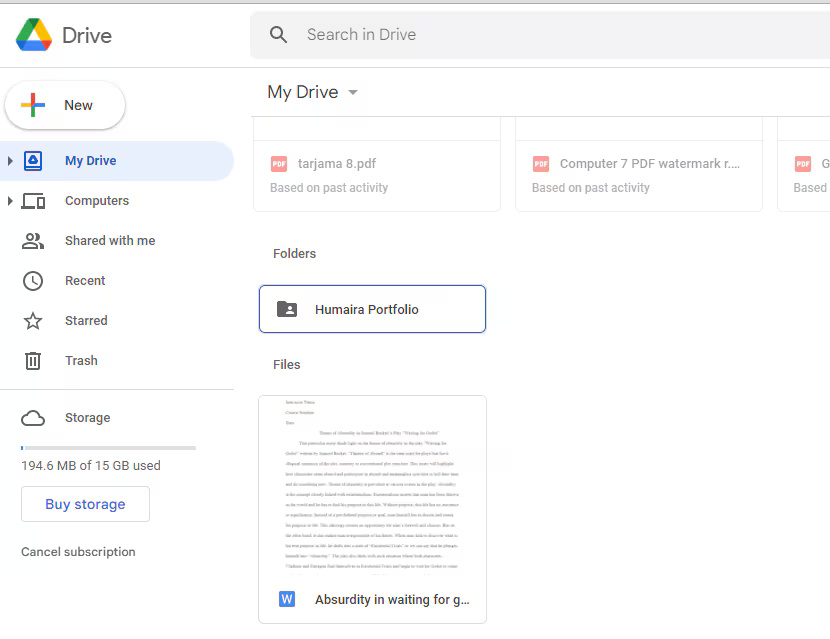
Method 8: Store Files in the Cloud
Cloud storage lets you offload your data to remote servers, accessible anywhere you have internet. Your files live online instead of taking up physical space—perfect if you need access from multiple devices.
To get started:
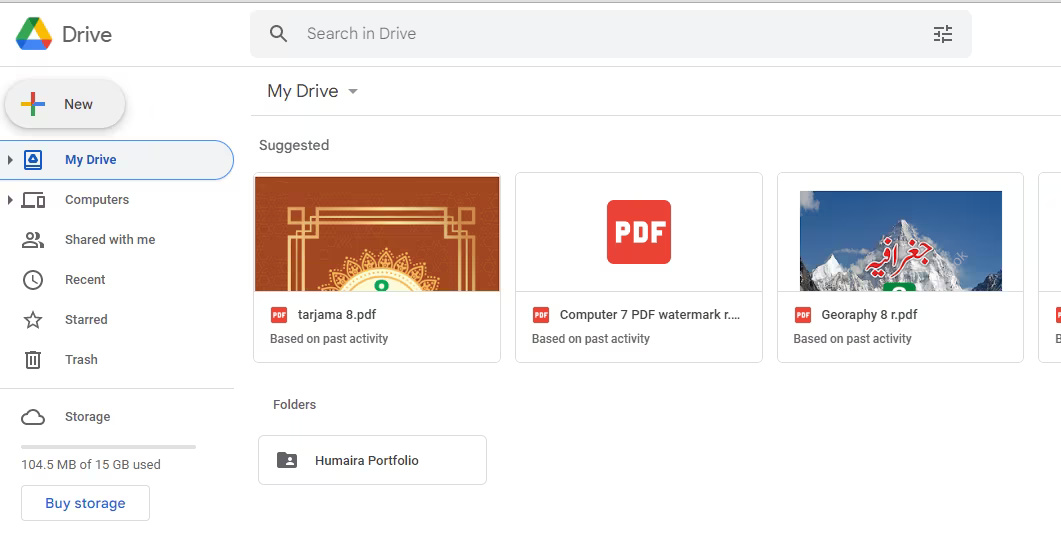
1. Create a Google account and open Google Drive. Click the New button to upload files you want to store in the cloud.
2. Select File Upload from the dropdown menu.
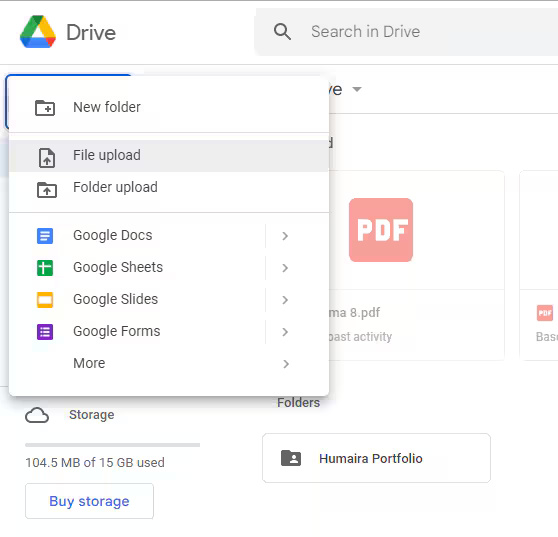
3. Choose and upload your desired files to Google Drive.
Method 9: Turn Off Hibernate Mode
Hibernate is a standard Windows feature designed to save time and power. However, it comes with a catch—it creates a hidden system file that can actually work against you. This file stores your entire system state while hibernating, letting you resume where you left off. If you rely on Hibernate regularly, leave it alone. If you rarely use it, disabling it frees up significant space.
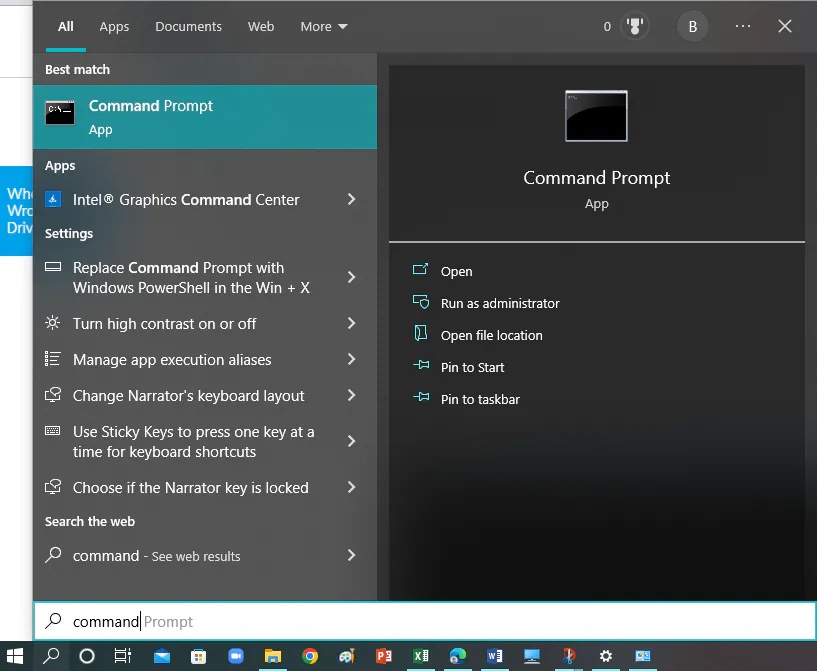
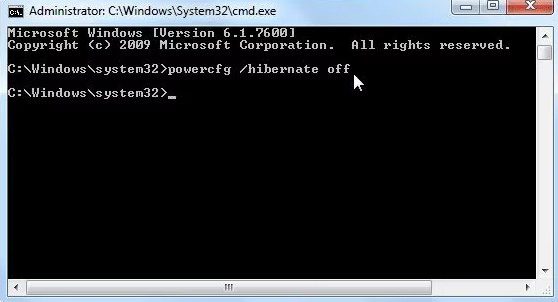
To disable it:
1. Go to your Start menu and search for Command Prompt.
2. Type powercfg -h OFF (alternatively, use powercfg /hibernate off).
Method 10: Compress Your C: Drive
Here's a clever trick: Windows can compress files to free up space without deleting them. The system handles decompression automatically when you open a file. This approach works in the background and is particularly useful when other methods aren't enough.
Follow these steps:
1. Open File Explorer. Right-click your C: drive and select Properties. Check the box labeled Compress this drive to save space.
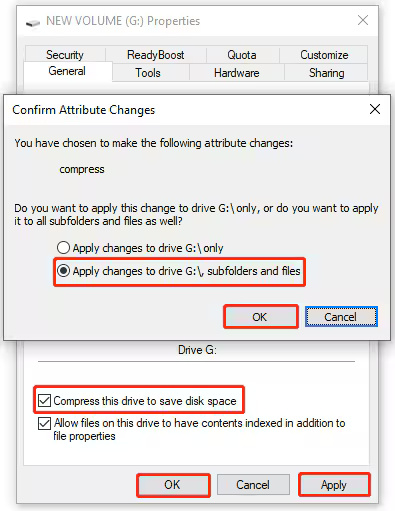
2. Click Apply. Choose whether to apply compression to C: only or to C: and all subfolders. Click OK. Wait for the process to complete—this can take several hours for larger drives. Restart your computer when finished.
Description: Running out of C: drive space? Learn 10 proven methods to reclaim gigabytes, from clearing temp files to enabling Storage Sense.
Related Articles
- Arc Browser Now Available on Windows 10, ARM Version Coming Soon
- Microsoft Unveils Windows 11 LTSC 2024 Minimum System Requirements and Supported CPU List
- Windows 11 to Automatically Enable BitLocker Encryption on All PCs
- Over 11 Million Android Devices Infected with Malware Distributed Through Google Play
- Which Smartphones Emit the Highest Radiation Levels Today
No Comment to " 10 Easy Ways to Clean Up and Free Space on Your Windows C: Drive "