How to Generate and Edit Images in Google Flow

Google Flow has built a solid reputation as a platform for professional AI video generation, featuring multiple advanced video models. But here's what many people don't realize: you can also create and edit images directly within your Flow projects. Using simple text prompts, you can generate custom images, make edits like adding or removing objects, blend images together, and more—the same way you'd edit videos on the platform.
This guide walks you through the complete workflow: creating images in Flow, refining what you've made, and even turning those images into AI videos. If you're new to Flow, you'll find practical steps to make the most of these core features.
Creating Images in Google Flow: A Step-by-Step Approach
Step 1:
Open Flow and start a new project or work within an existing one. Next, click on the image generation model in the prompt box to configure it.
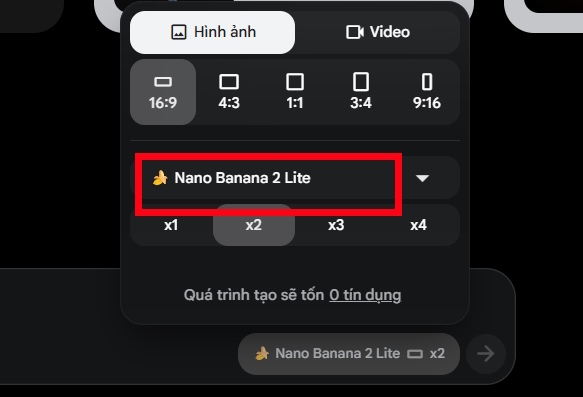
You'll now see all available image generation models supported by Google Flow ready for selection.
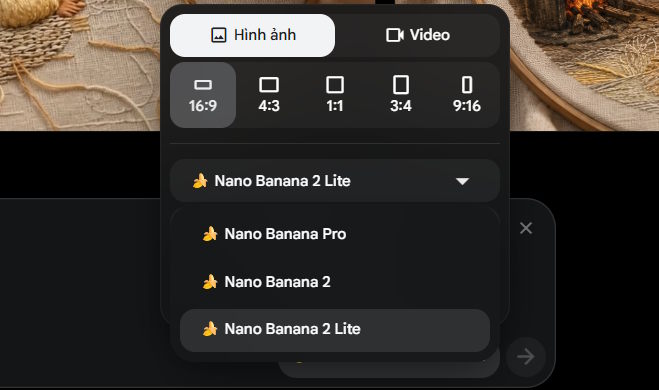
Step 2:
Choose your image dimensions and how many outputs you want to generate. What's great here is that image creation on Google Flow doesn't consume any credits.
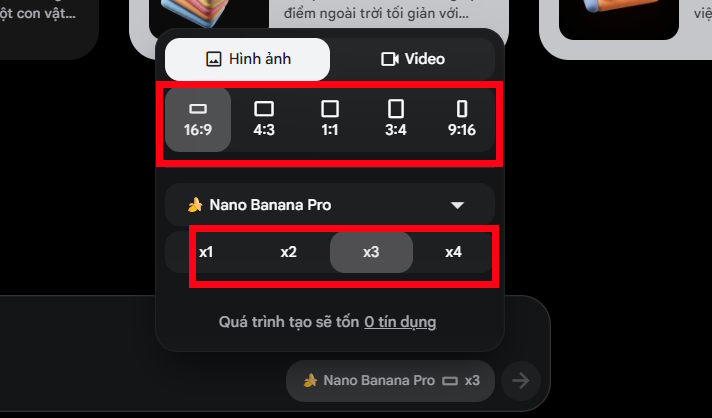
Step 3:
Click the plus icon, then select Upload File and upload a reference image or document to use as your basis. If you're working with a reference file, drag it into the canvas area, then enter your image generation prompt.
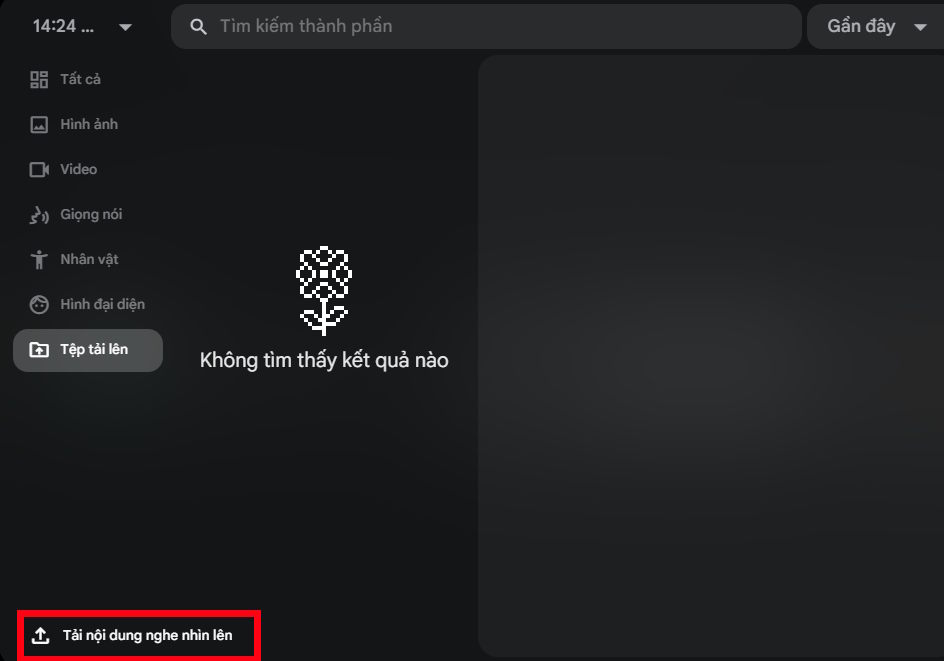
Wait a moment while Flow generates your images based on your settings.
For example, I uploaded a reference photo and entered the command Give me 20 variations of this image with different lighting. The result was 3 images with 20 variations derived from my original upload.
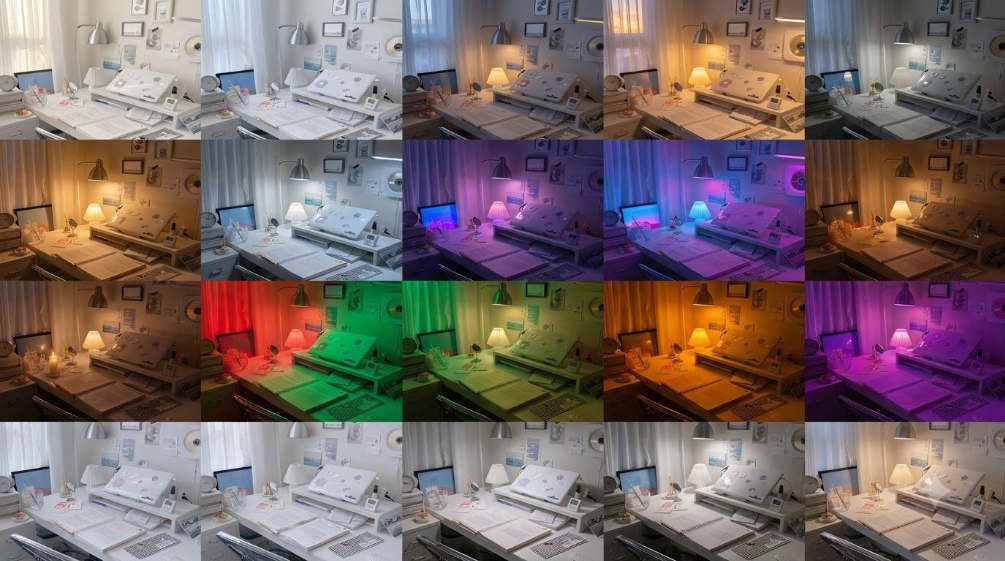
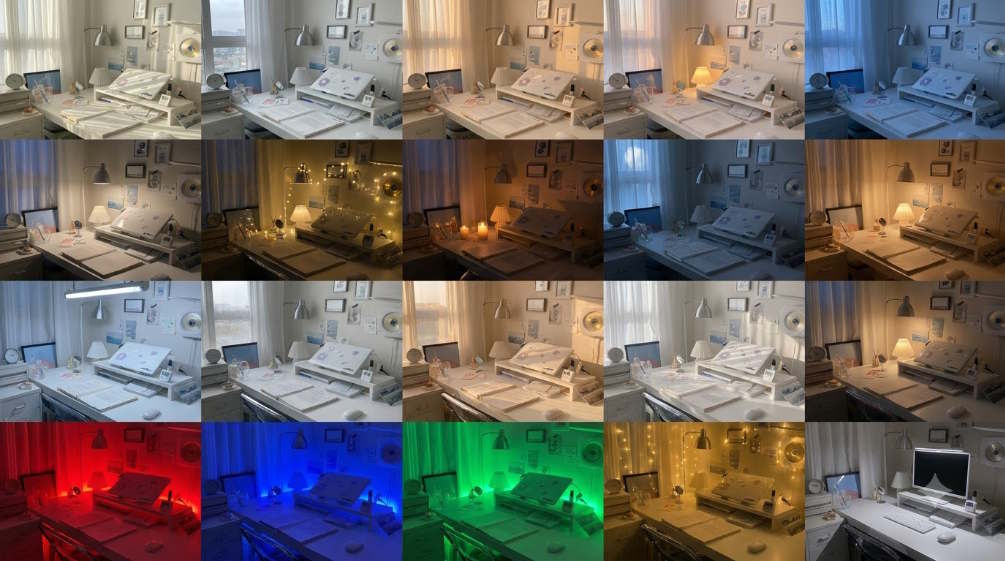
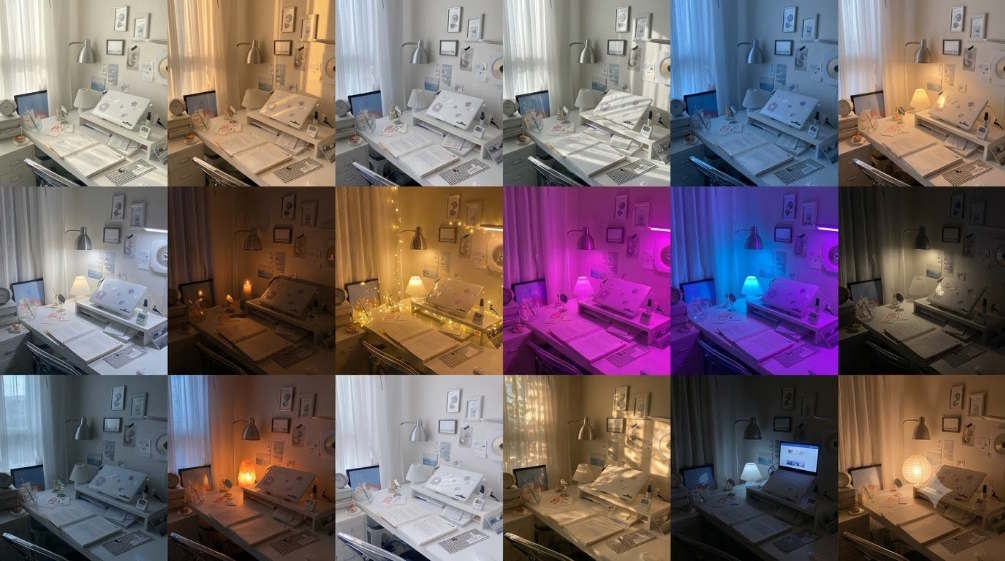
Refining Your Images Within Flow
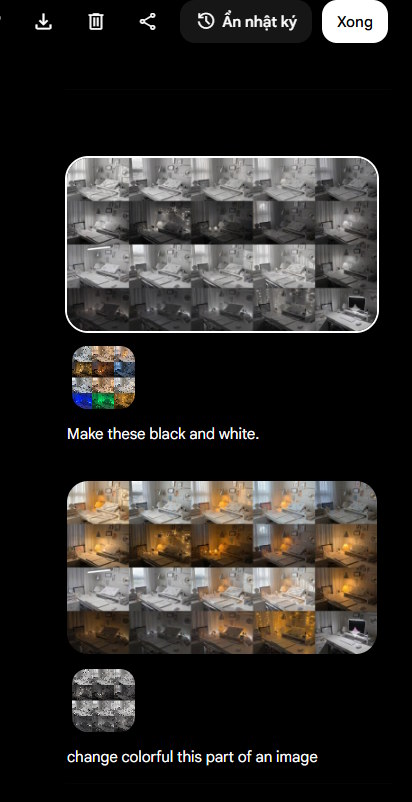
When you edit an image in Google Flow, your original stays safe. The history panel lets you access every previous version and the prompts you used to create them.
Step 1:
In the Flow interface, drag the image you want to refine into the canvas—you can add multiple images at once. Then type a text prompt describing what you'd like to change.
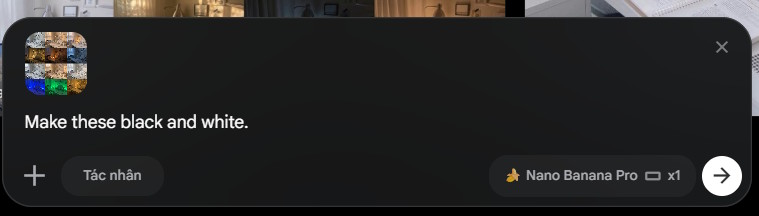
Immediately after, you'll see your new image. For instance, using the command Make these black and white instantly delivers the result.
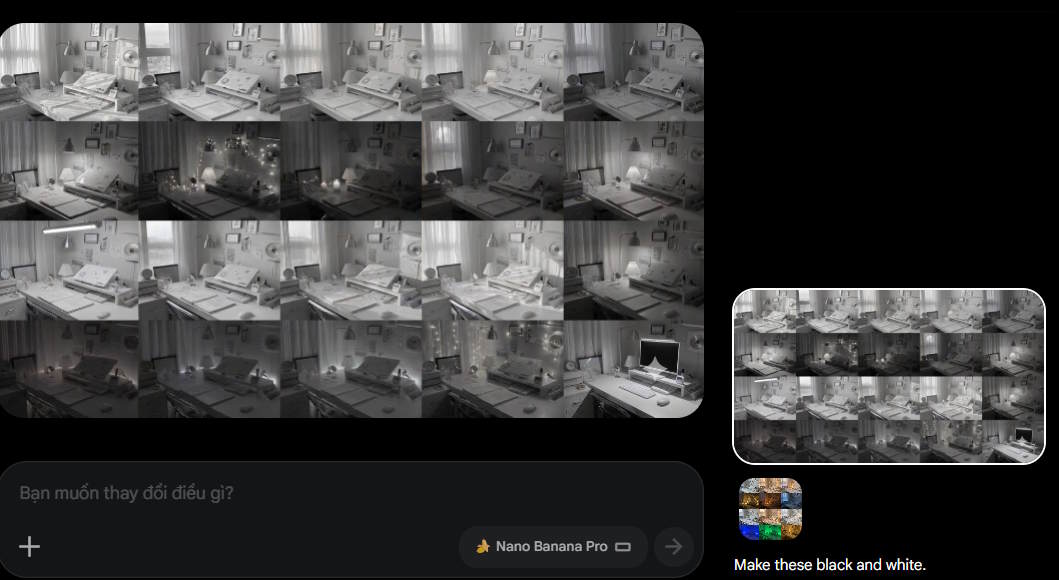
Step 2:
Google Flow includes a built-in crop tool. Click the crop icon on the left side when you select an image.
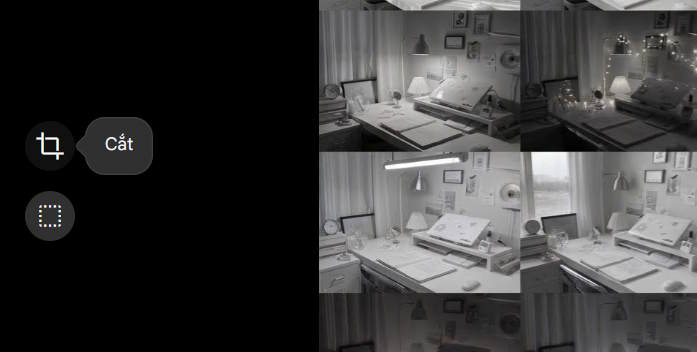
Now select your desired aspect ratio, or pick Free to manually adjust the crop area. Then hit Crop to apply.
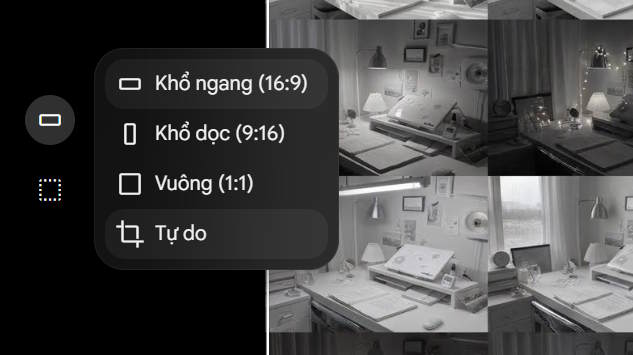
Step 3:
You can also use the Select tool to refine specific regions of an image. Click the selection icon on the left side of your image.
Choose how you want to mark the area you're targeting.
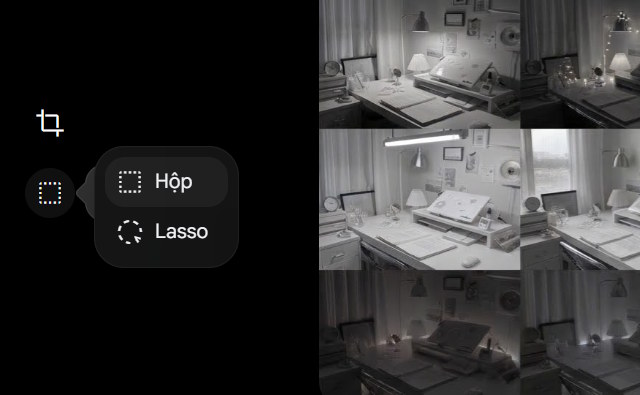
Then enter your edit prompt for that specific region and submit to generate the new version.
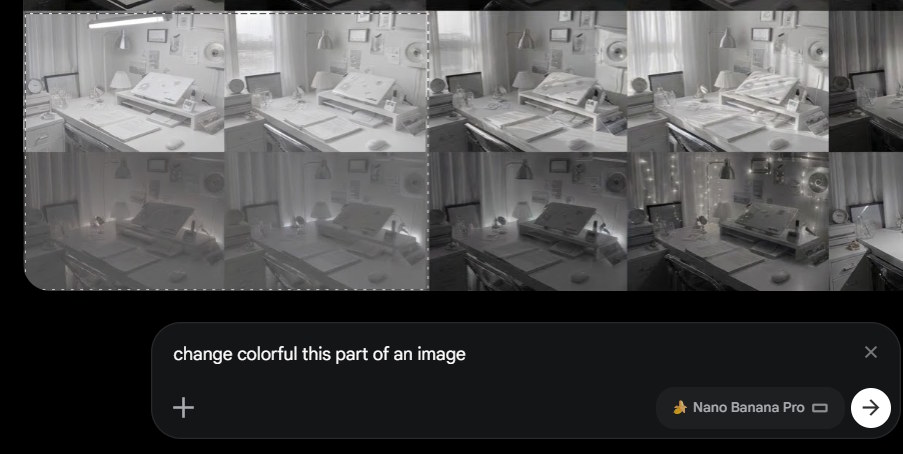
Step 4:
To review all your edits, including every prompt you've used, look at the right sidebar—you'll see the original, the edited version, and the commands executed. At the top, you can toggle the history panel on or off as needed.
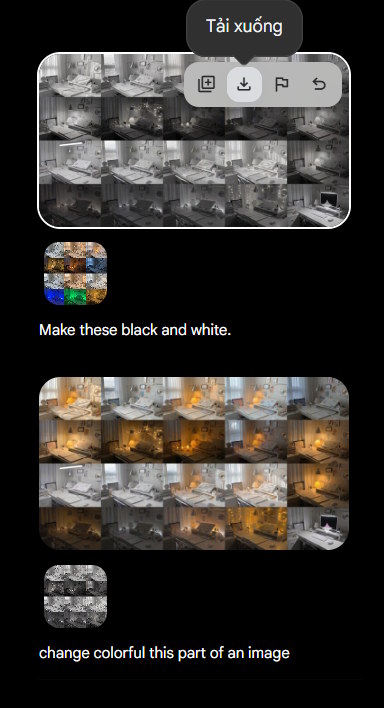
From this history view, you can download whichever image variant you prefer by hovering over the download arrow icon.
Description: Master image creation and editing in Google Flow. Learn to generate AI images, make edits, crop, and manage your image library.

No Comment to " How to Generate and Edit Images in Google Flow "