How to Sharpen Blurry Images with AI in Canva
Blurry photos are frustrating. Whether you're working with low-quality snapshots, out-of-focus landscape shots, or document scans, fuzzy images can tank your design projects. Canva solves this problem with its AI-powered Unblur Image tool—a feature that automatically sharpens photos and improves clarity without requiring you to fiddle with manual adjustments or memorize AI prompts.
The tool leverages artificial intelligence to enhance fine details, boost sharpness, and make images appear noticeably clearer. The workflow is straightforward: upload your photo to Canva, select the sharpening tool, and let the AI handle the heavy lifting. Once your image is enhanced, you can layer on additional edits using Canva's full suite of design tools. Here's exactly how to get started.
Using Canva's AI Image Sharpening Tool
Step 1:
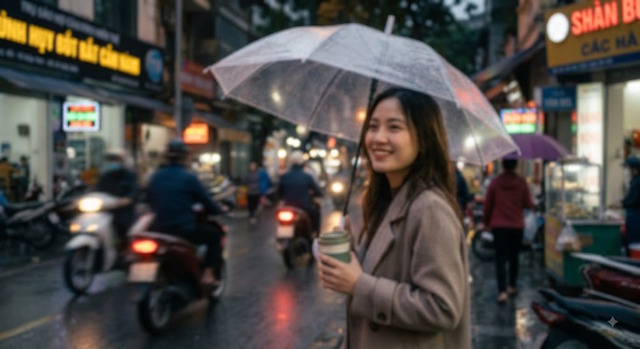
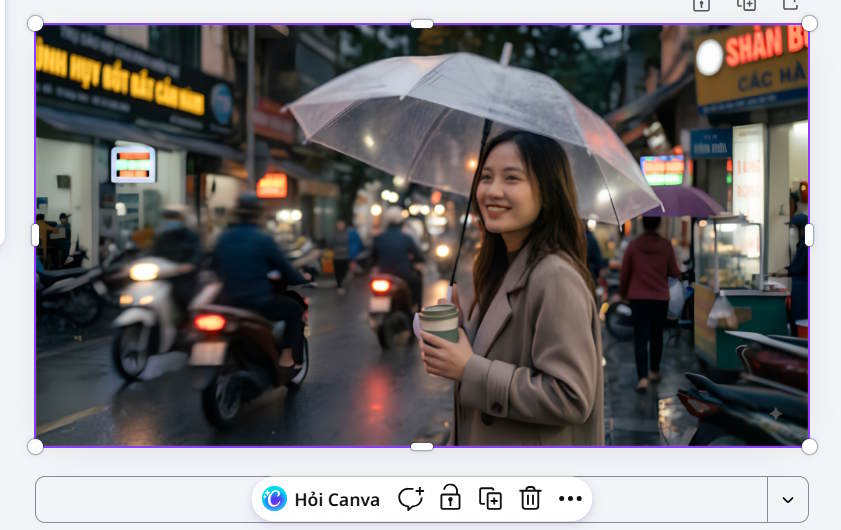
Let's say you have a blurry subject photo—like the example below—and want to clarify the main focal point. The first thing you'll do is upload the image to Canva and click the Edit button at the top.
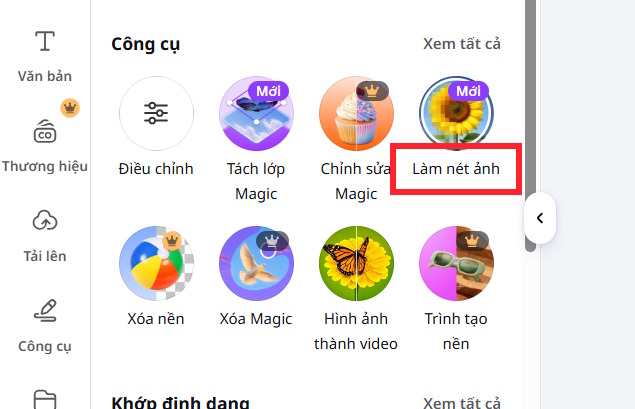
Once the editor opens, you'll see a toolbar on the left side with various image tools. Look for and click the Sharpen option to begin improving your image quality.
Step 2:
The AI now scans your entire image to identify and clarify the main subject. This happens automatically—just let it process.
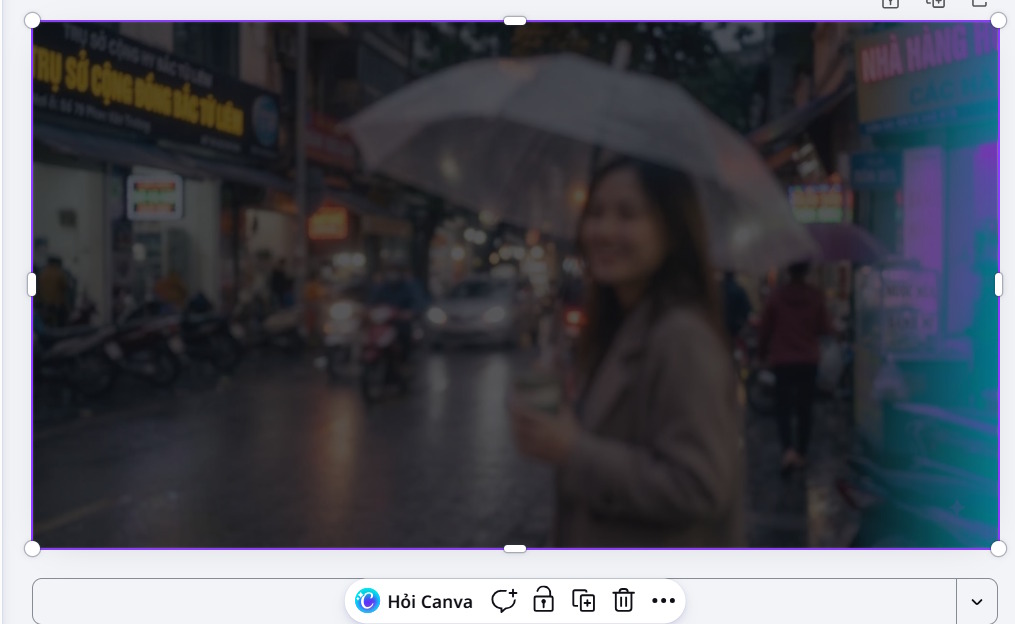
And that's it. Your subject is now sharp and clear. From here, you can continue editing using Canva's other design tools to add finishing touches.
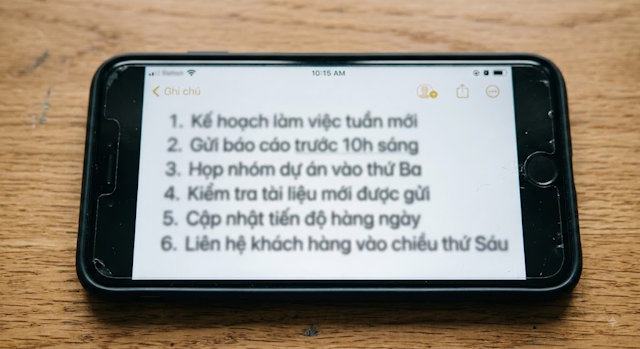
What's interesting here is that the sharpening tool works on more than just landscape photos. It's equally effective on document and text images. Take this blurry document photo below—it's hard to read and could use some work.
After running the sharpening tool, the text becomes significantly clearer and more legible.
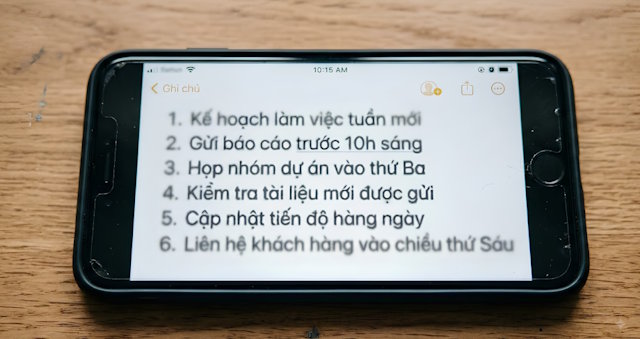
That said, there's a realistic limit here. Canva's AI can't magically recover text that's completely obliterated due to severe blur. The tool excels at enhancing existing details and reconstructing information that's still theoretically visible—it can't conjure pixels from nothing. The real concern is managing expectations: this is enhancement, not miracles.
Once your image is sharpened, Canva lets you layer on logos, colors, fonts, frames, stickers, text, and any other design elements you need. Best of all? The Unblur Image tool is completely free and adds no watermark to your final image.
Description: Learn how to use Canva's AI-powered Unblur tool to enhance image clarity and quality in seconds. Perfect for landscapes and document scans.
Related Articles
- ChromeLoader Malware Spreads Globally, Targeting Both Windows and Mac Users
- Getting Started with Mapify AI: Turn Any Content Into Mind Maps in Minutes
- We Tried Apple's DIY iPhone Battery Replacement Kit—Here's What Happened
- 10 Easy Ways to Clean Up and Free Space on Your Windows C: Drive
- This Android Gaming Phone Just Shattered Smartphone Battery Life Records

No Comment to " How to Sharpen Blurry Images with AI in Canva "