Complete ChatGPT Guide: How to Use It, Troubleshoot Common Problems
ChatGPT has evolved dramatically since its launch. Early adopters barely recognize it now compared to the original version. Today, it's no longer just a chatbot—it's become a full-featured productivity assistant you can use for research, writing, automating workflows across your other apps, and much more.
If you're eager to integrate ChatGPT into your workflow but aren't sure where to start, you've landed in the right place. This guide covers everything you need to know about using ChatGPT effectively.
Table of Contents
What is ChatGPT?
ChatGPT is an AI chatbot developed by OpenAI that processes text, images, and audio inputs (depending on your model). Here's what it can actually do for you:
- Have conversations via voice or text, answering questions on virtually any topic
- Generate written content—poems, blog posts, emails, and more
- Brainstorm and develop ideas with you
- Create, edit, and analyze images
- Handle complex multi-step tasks across different apps (like researching a topic and building a presentation about it)
- Search the internet for current information
- Build charts and graphs from your data
- Analyze datasets
- Translate languages or convert design mockups into code
- Control your computer and perform basic actions on your behalf
- Essentially anything you'd expect from a multimodal AI trained on internet-scale data
Getting Started with ChatGPT
Here's the quick rundown on starting with ChatGPT (the process is nearly identical across web, desktop, and mobile):
- Head to chat.com or open the mobile app, then sign up or log in (completely free).
- Choose your mode: Chat for quick interactions or Work for complex projects.
- If you're on a paid plan, select your preferred AI model.
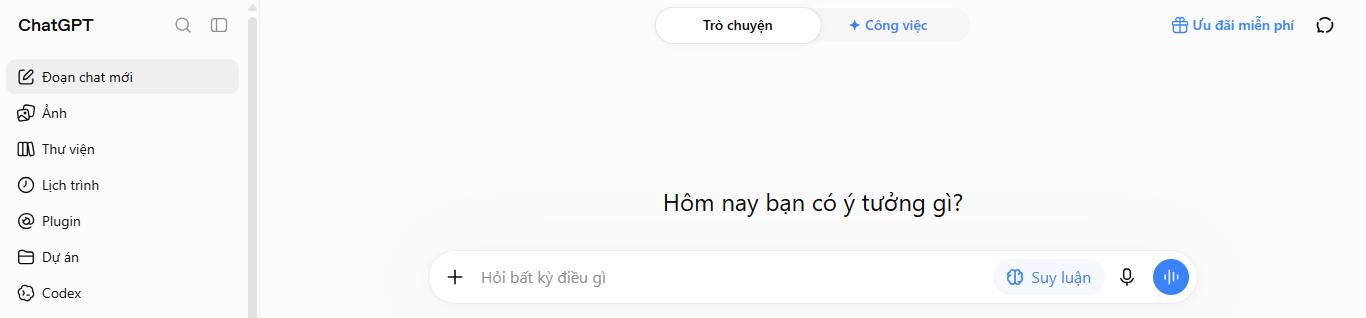
- Enter text, upload images, or use voice commands at ChatGPT's home screen.
- Once ChatGPT responds, you have several options:
- Edit your original prompt
- Enter a new follow-up
- Review sources
- Copy the response
- Regenerate the response
- Rate the response
- Start a fresh conversation
- Share the response
Let's dig deeper into each step.
1. Create Your OpenAI Account
First things first—you need a free OpenAI account. Visit chat.com and click Sign up for free. You can use an email address, Google, or Microsoft login. If using email, you'll need to verify a phone number to prove you're human, not a bot.

Already have an OpenAI account? Just click Sign in and start chatting.
Stuck on signup or login? Try refreshing the page. For specific login problems, check OpenAI's official help documentation.
2. Pick Your Mode
By default, conversations open in Chat mode (great for quick Q&A). But if you're doing longer, deeper work like research or document drafting, switch to Work mode at the top of the conversation.
3. Select an AI Model
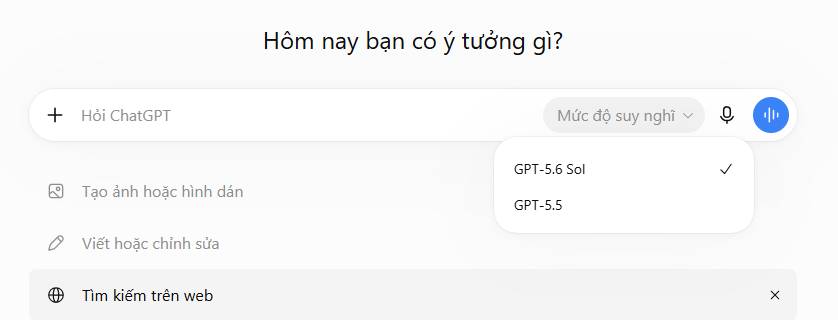
Paid plan users can choose which AI model powers ChatGPT. Click the model dropdown in your chat window and select your preference. Each model has different strengths—newer ones are more capable but may be slower.
4. Ask Questions
There are several ways to input your request:
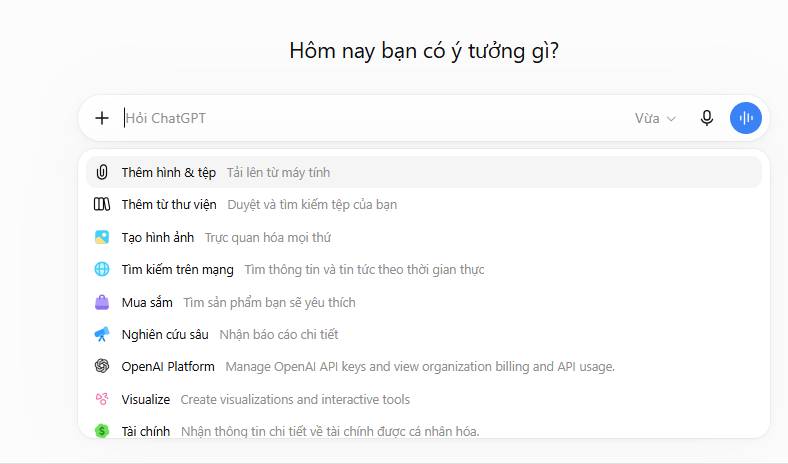
- Type your prompt into the message box and hit Enter or click the up arrow.
- Use web search to let ChatGPT look up current information online. Click the + icon, select Web search, and type your question.
- Try deep research to have ChatGPT scan hundreds of sources and files for a comprehensive answer with citations. Click +, choose Deep research, then enter your query.
- Visualize data by clicking +, selecting Visualize, and describing what you want to see.
- Search your company's apps (Business/Enterprise users). If you've connected apps like Google Drive or Slack, click + and choose Company knowledge to search across your own files.
- Use voice input by clicking the microphone icon to speak instead of type.
- Upload files or images by dragging them into the message box, or clicking + and selecting Add files & images.
5. Work with Responses
Within seconds, ChatGPT delivers an answer. Here's what you can do with it:
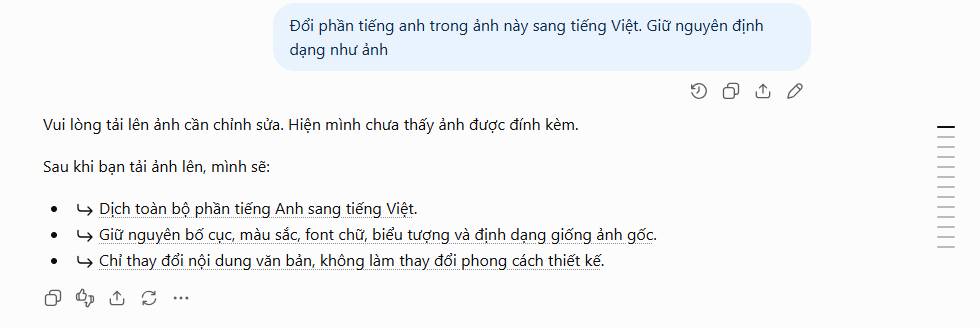
- Edit your prompt. Hover over your original message, click the pencil icon, make changes, and press Enter.
- Send a follow-up. Ask ChatGPT to adjust its answer—it remembers your conversation context.
- Check sources. Hover over source citations in the response to learn where ChatGPT found the information. Click to visit the original source.
- Copy the response. Click the copy icon below the answer to grab it for sharing elsewhere.
- Regenerate. Not happy with the answer? Click Retry to get a new one using the same prompt.
- Rate the response. Click the thumbs up or down icon to help ChatGPT learn what's useful.
- Branch the conversation. Want to explore a different direction without losing your chat history? Click More actions (...) and select Create branch in new chat.
- Share your conversation. Click Share at the top to generate a unique link others can view. Enterprise users note: only your workspace members can access it.
Customizing ChatGPT
Tired of repeating yourself? If you always say "write in Python" or "use a conversational tone," ChatGPT can remember these preferences automatically.
Using Custom Instructions
Even on the free plan, you can set permanent instructions ChatGPT will follow. Here's how:
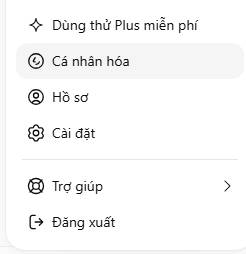
- Click your profile, then select Personalization.
- Toggle Custom instructions on.
- Enter any preferences you want ChatGPT to remember—like your writing style or preferred output format.
- Click Save.
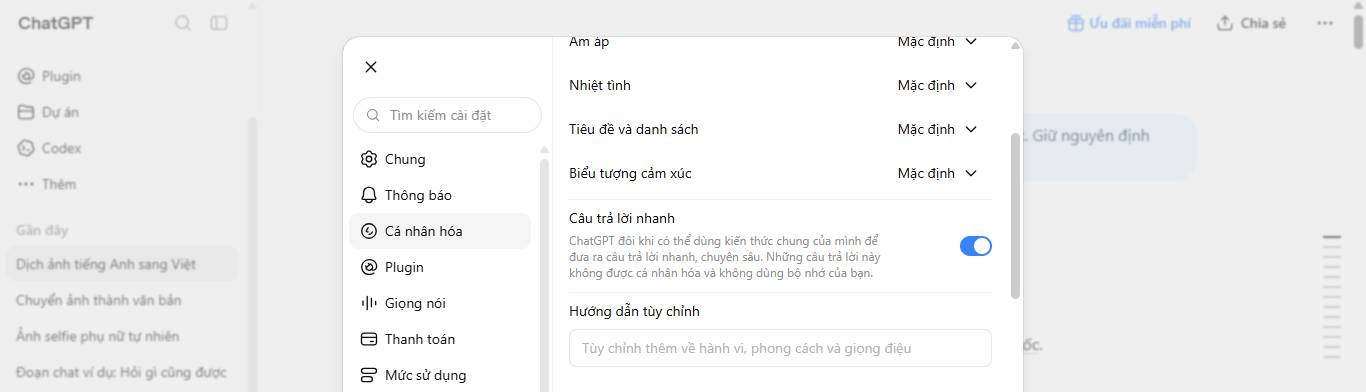
Now ChatGPT will automatically apply these instructions unless you override them in a specific prompt. The real benefit here is that you can toggle them on or off whenever you need something different.
Pro tip: If you need ChatGPT to handle multiple roles, create separate Projects and set unique instructions for each one.
Building Custom GPTs
Paid users can create personalized versions of ChatGPT—called GPTs—programmed with custom instructions. You can also use pre-built options like Data Analyst. Free users can access existing GPTs but can't create new ones.
Here's the quick process:
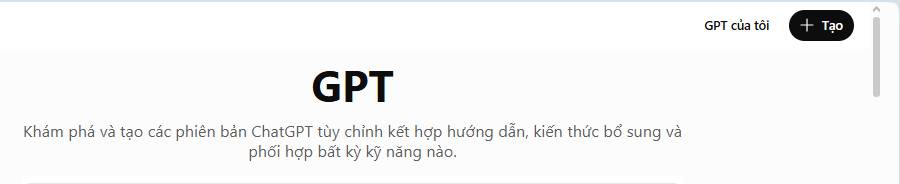
1. In ChatGPT, click GPTs in the sidebar.
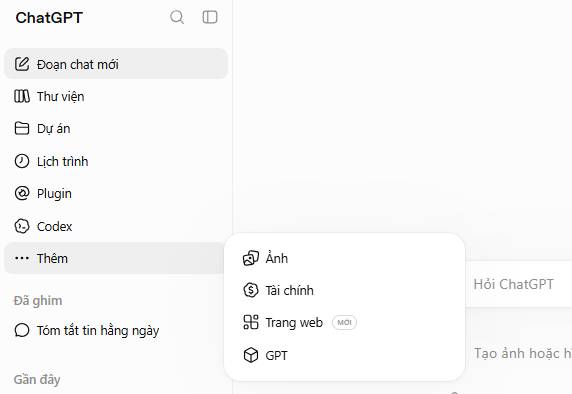
2. Click Create in the top right.
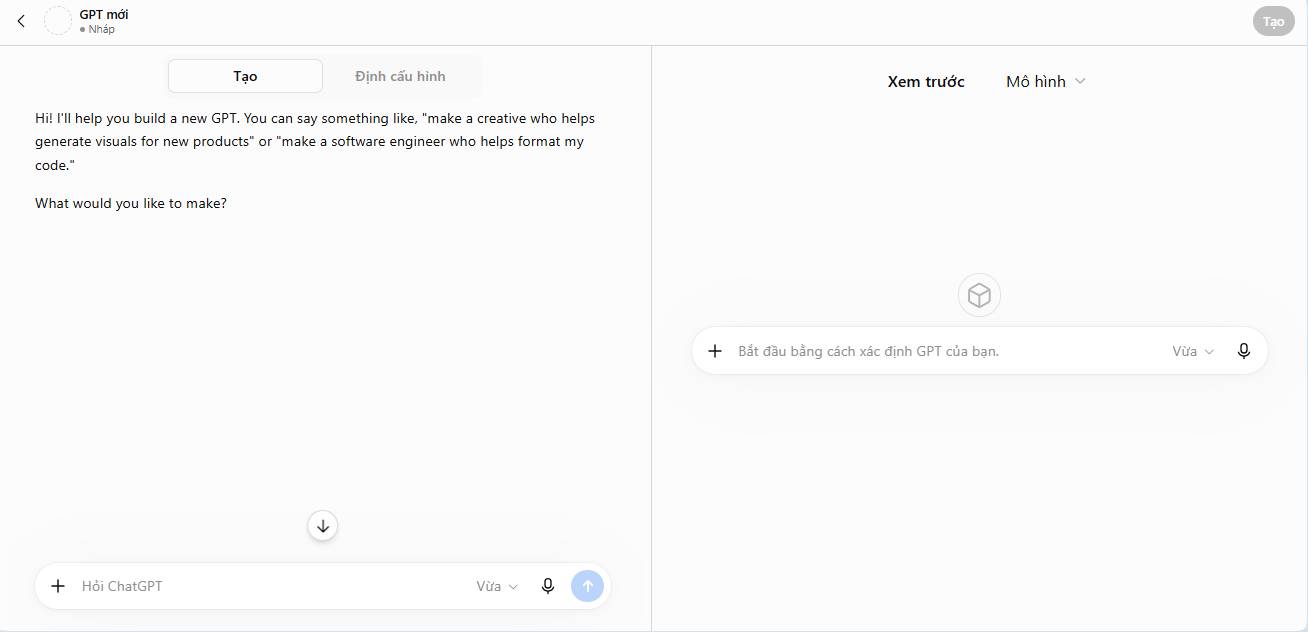
3. Type your instructions into the message box and chat with the GPT builder until you get what you want.
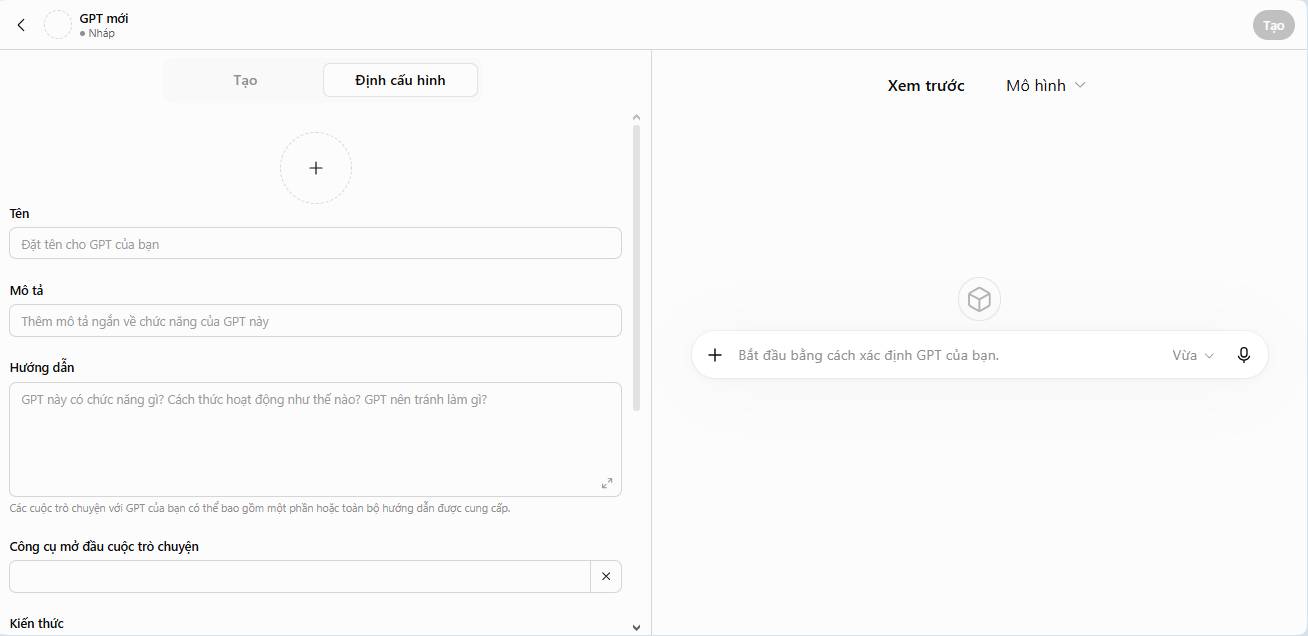
4. Click Configure for advanced customization. You can rename your GPT, refine instructions, upload knowledge files, and set up actions.
5. Click Create, then choose how to share it.
6. Click Update.
You can also use custom GPTs from any conversation—just type @[GPTName] followed by your question in the message box.
Voice Conversations
Want to chat without typing? ChatGPT's voice mode lets you have natural conversations with the AI. Here's how it works on the web (mobile works similarly):
1. Open a ChatGPT conversation and click the Voice icon (sound waves) in the message box.
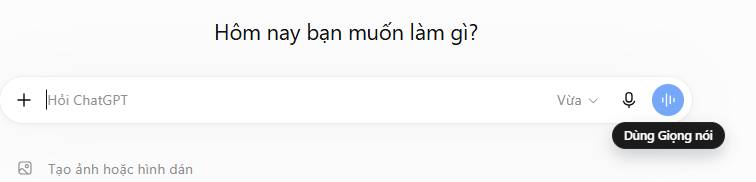
2. When a soothing circle appears on screen, start speaking.
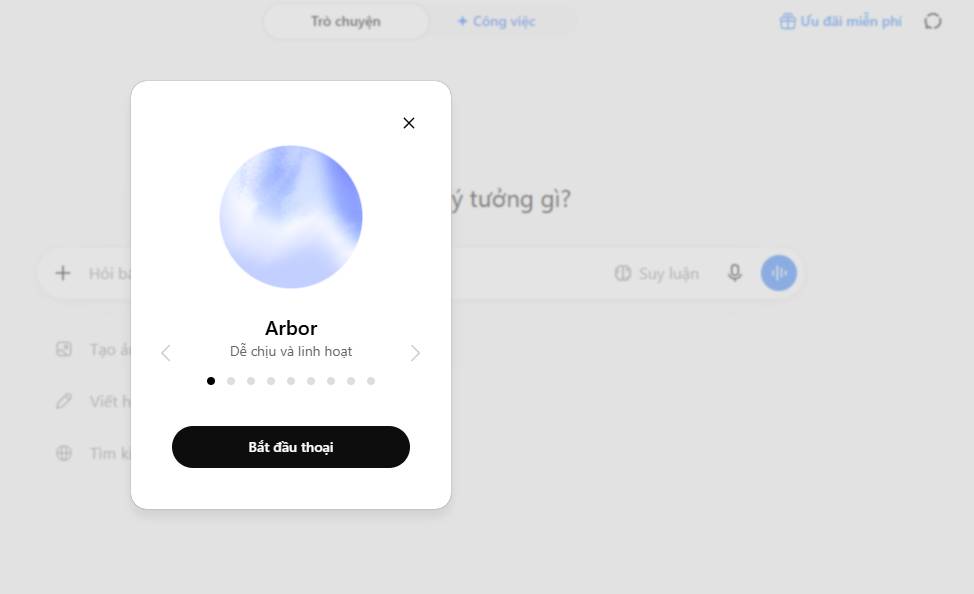
3. ChatGPT responds via voice automatically—no send button needed. Interrupt naturally like in a real conversation if you want to pause it.
4. To exit voice mode, click the Voice icon again (it becomes an X while active).
When you finish, the full conversation appears as text and saves to your history. Want different voice settings? Go to settings, click Voice, and pick your preferences.
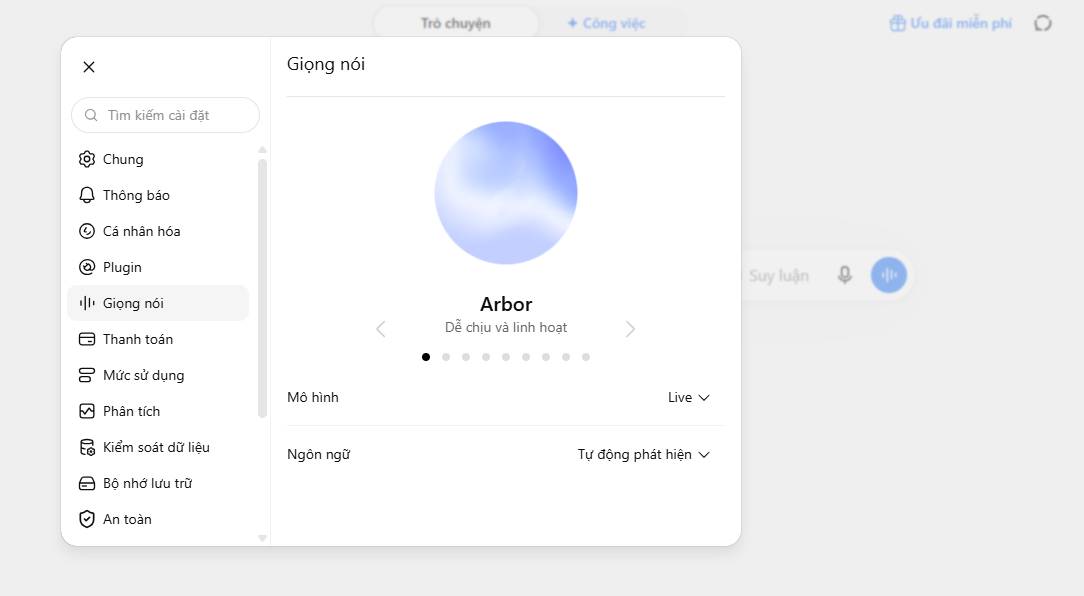
Three voice mode options exist:
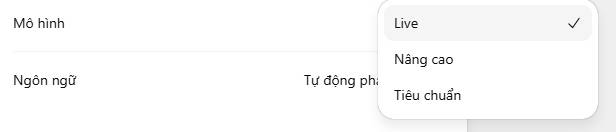
- Live: The default mode. Most natural for back-and-forth conversation. Supports web search, memory, and visualizations in real time.
- Advanced: Best for mobile when you want to share your screen or video during conversation.
- Standard: Turn-based mode where your speech converts to text before ChatGPT responds. Works best in noisy environments or when you prefer text-based exchanges.
Uploading Images
Add images to your chats and discuss them with ChatGPT.
Via Web App
- Click the + icon in the message box and select Add files & images. You can also drag and drop files directly into the box, or add images from Google Drive and OneDrive (connect first if needed).
- Choose the images you want.
- Type your question.
- Press Enter.
Via Desktop App
- Click the + icon in the message box.
- Upload an image from your computer or drag and drop it into the box.
- Type your question.
- Press Enter.
Via Mobile App
- Tap the + icon in the message box.
- Choose to upload an existing photo or take a new one.
- If you want to discuss a specific part of the image, tap Comment, tap that area, then type your question.
- Tap Send.


Using ChatGPT Work Mode
ChatGPT Work (formerly ChatGPT Agent) goes beyond single-response answers. It's an AI agent designed for complex, multi-step tasks—research, automation across your apps, and delivering finished work. Available on desktop, it works the same across web and mobile.
Note: Work mode requires a paid ChatGPT plan (Plus or higher).
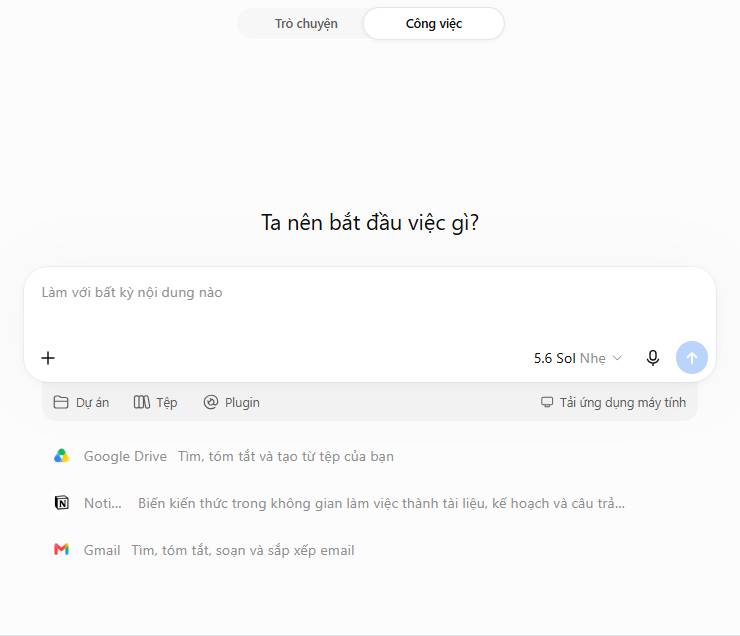
1. In a new conversation, click Work at the top.
2. Describe the task or project you want ChatGPT to complete.
3. Optionally connect apps you want Work to access or control—Google Drive, Gmail, etc.—via the plugin menu.
4. Watch ChatGPT's progress in the chat, answer its questions, and steer it as needed.
5. Once done, review the results and request edits or next steps in the same conversation.
Features Beyond Chat
Not everything in ChatGPT happens inside conversations. Here's how to use additional features to maximize your productivity assistant.
Note: Some features are only available on certain paid plans.
Projects Feature
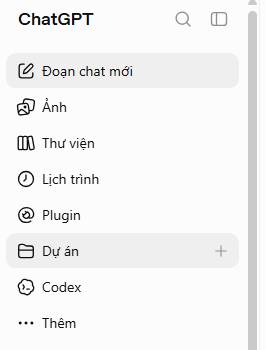
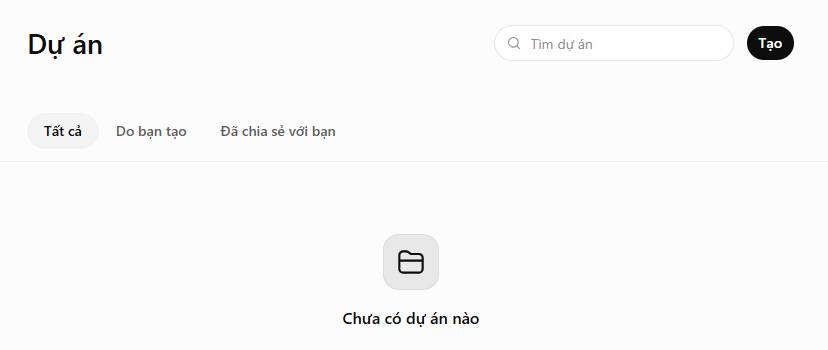
Projects group conversations, saved notes, custom instructions, and reference documents into organized workspaces. Switch between projects and ChatGPT automatically switches context with you.
1. In the ChatGPT sidebar, click Projects.
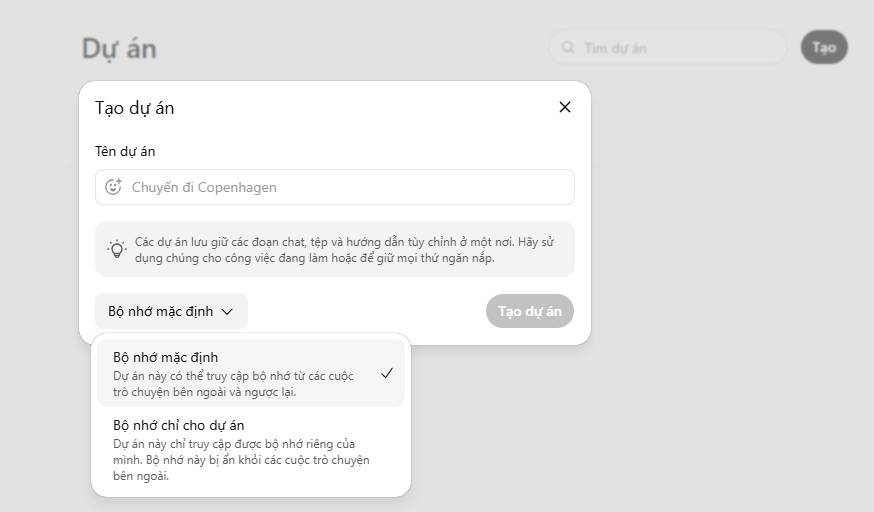
2. Name your project, pick an icon and color, then click Create.
3. You now have several options:
- Start chatting. Type your prompt and chat normally.
- Add knowledge sources. Click Sources, then Add source to upload files you want ChatGPT to reference. You can also drag and drop files here.
- Add custom instructions. Click the three-dot menu in the top right, select Project settings, and enter instructions to shape how ChatGPT responds within this project.
To view chat history for any project, click the three-dot menu next to the project name in the sidebar and select Project home. Your conversations appear in the Chat tab.
Sharing Projects
Want to collaborate with others? You can share individual conversations or entire projects.
- Click the three-dot menu next to your project name in the sidebar.
- Click Share project.
- Invite collaborators by email or link. Email sharing lets you set permissions—edit or view-only.
- Click Invite for email, or Copy link and share as usual.
Scheduled Tasks
Set ChatGPT to run tasks automatically on a schedule. Quick overview:
1. Start a new conversation or set up a task from an existing one.
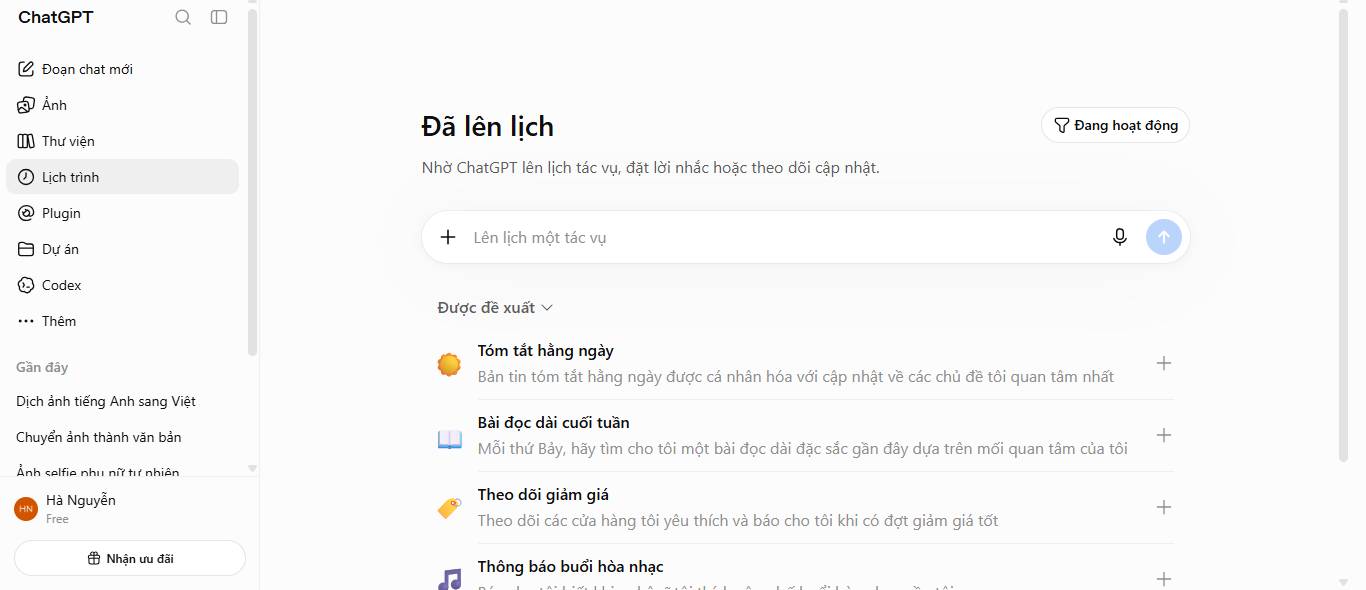
2. Describe the task and when you want it to run.
3. ChatGPT confirms the task is scheduled in the chat.
4. Click the task card below the confirmation to edit timing and frequency. Or go to the Scheduled section and click the pencil icon next to the task name.
5. Click Save.
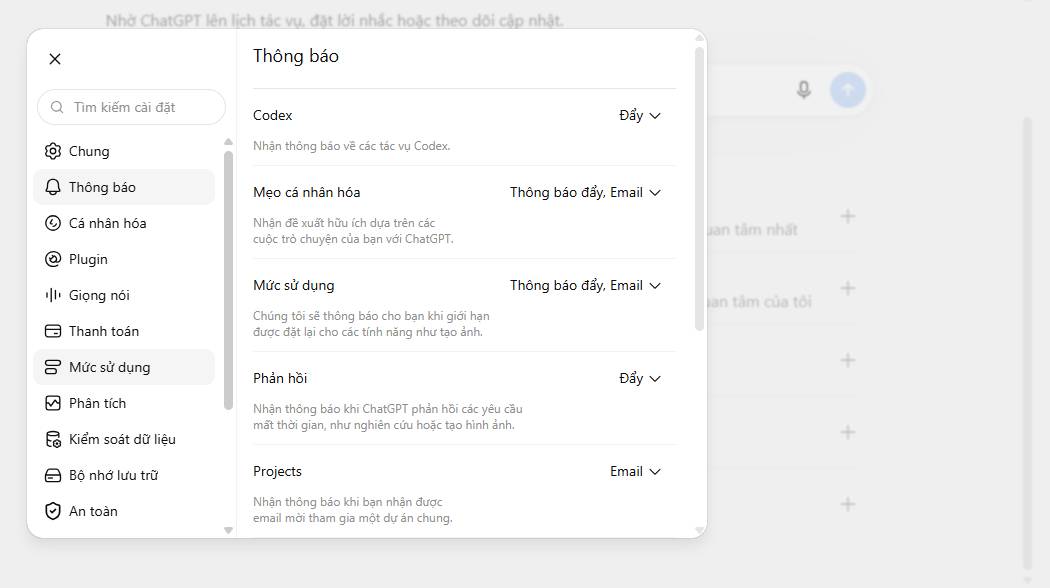
ChatGPT runs scheduled tasks automatically whether you're online or not and sends push and email notifications when complete. To change notification preferences, open settings, click Notifications, and choose your method.
Fixing ChatGPT Problems
ChatGPT errors come in many flavors: won't load, won't open, can't log in, not available in your country, not responding. The cause could be network issues, connectivity problems, or missing VPN. Try these fixes in order.
- If you're experiencing network errors, check out our detailed network troubleshooting guide.
Refresh the Page
If ChatGPT shows a red error message, try refreshing the page. Your previous chats are safe—they'll stay in the sidebar on the left.
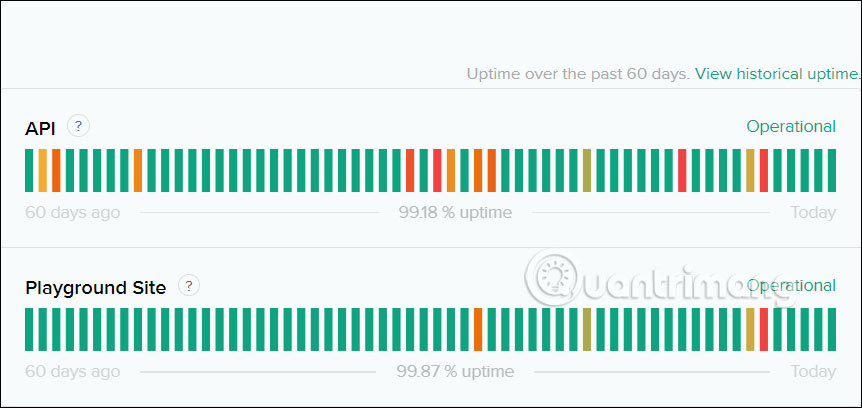
Check Server Status
When ChatGPT's servers have issues, you'll see red error messages and can't connect. Check OpenAI's status page:
https://status.openai.com/
This shows you whether OpenAI is experiencing outages or problems right now.
Restart Your Browser
Sometimes the browser itself is the culprit. Close ChatGPT completely and restart your browser (save your other tabs first). What's interesting here is that browser memory issues often fix themselves with a full restart.
Clear Browser Data
If restarting doesn't work, try clearing your browser's web data. This removes your browsing history, cookies, and cache. You'll need to log back into ChatGPT after, but it often solves connection problems.
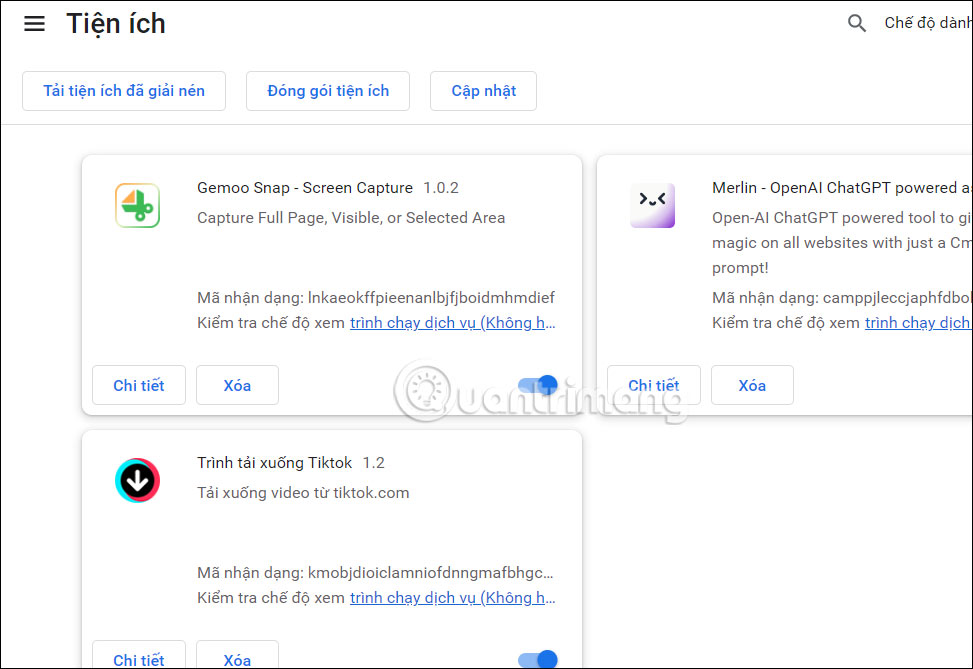
Disable Browser Extensions
Browser extensions you've installed can interfere with ChatGPT. Try disabling them, then restart your browser. The real culprits are often ad blockers or privacy tools—disable those first.
Reset Your VPN
If you're using a VPN to access ChatGPT, try turning it off and back on. Disconnect completely, wait a moment, then reconnect. Sometimes your VPN connection gets stale.
Restart Your Computer
If nothing else works, restart your computer. Save all your work first, power down completely, and start fresh. This clears system-level issues that browser resets can't touch.
Description: Master ChatGPT with this comprehensive guide. Learn setup, features, custom GPTs, voice mode, image uploads, and fixes for connection issues.
Related Articles
- How to Customize Gemini's Responses in Google Docs, Gmail, and Slides
- Five Hidden Perks of Google AI Pro You're Probably Missing
- Midjourney vs Leonardo AI: Which AI Image Generator Should Beginners Choose?
- Claude vs ChatGPT: Which AI Chatbot Should You Actually Use?
- The Best AI Programming Tools You Should Know About in 2024

No Comment to " Complete ChatGPT Guide: How to Use It, Troubleshoot Common Problems "