Generate Cinematic Drone-Style Videos from Still Images Using Google Flow
Got a static image you want to transform into silky-smooth, cinematic drone footage without needing complex 3D camera setups? Google Flow makes this surprisingly simple by letting you draw guides directly on your image to control exactly how the AI should move the camera through your scene.
In this guide, we'll walk through crafting the right prompt and setting up your motion guide image so Google Flow understands the flight path and camera direction correctly. Best part? Those guide lines disappear completely from the final video—and the drone itself stays invisible.
Creating Cinematic Drone Videos on Google Flow: The Annotation Method
Step 1:
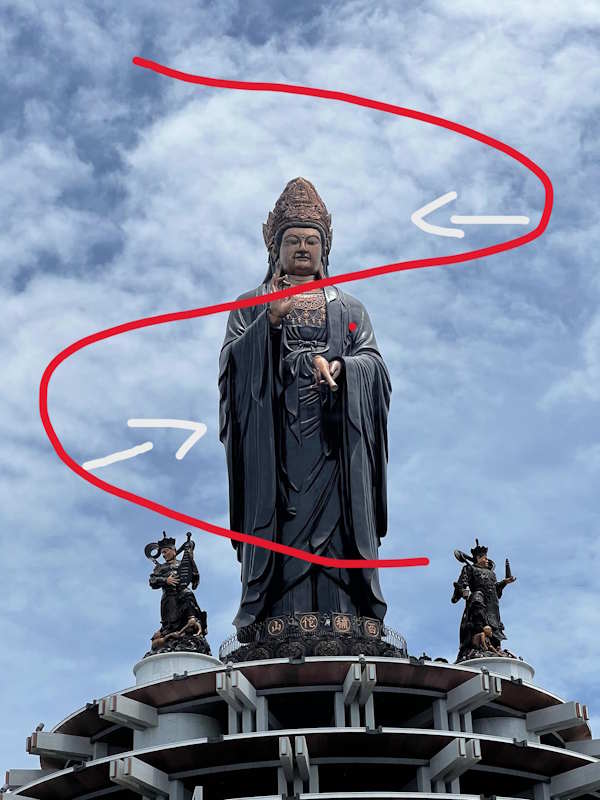
Start by preparing your image, then grab your device's drawing tool and annotate it with two key elements: a red line showing the flight path and white arrows indicating where the camera should look. Here's what makes this approach clever—the camera can move in one direction while looking in another, creating natural, intentional aerial camera movements rather than robotic, rigid motion.
Check out the example below with its red line and white arrow annotations.
Step 2:
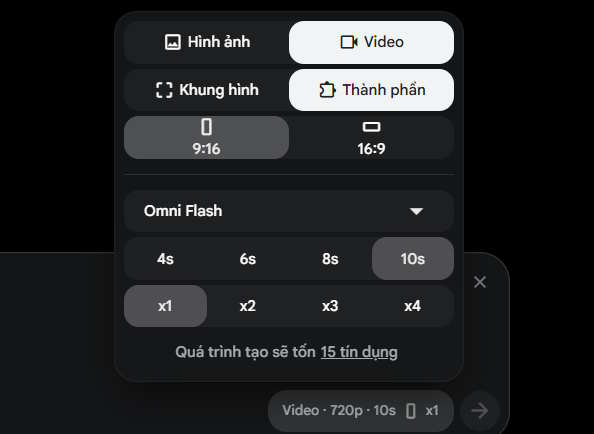
Head over to Google Flow, switch to video generation mode, select the Omni Flash model, and configure your output duration and video count preferences.
Next, upload your annotated image and paste the detailed prompt below, then submit to generate your video.
Use the attached annotated image as the motion-control blueprint for the video.

The red line and white arrows are ONLY visual motion instructions. They are not objects, elements, or details belonging to the scene.

RED LINE = exact camera movement trajectory.

WHITE ARROWS = exact camera viewing direction.

Interpret these annotations as invisible camera-control data. Use them to determine the camera's movement and orientation, but NEVER render, reproduce, trace, animate, or preserve the annotations in the final video.

Create a single continuous aerial camera POV from a camera mounted on an unseen flying platform.

IMPORTANT: THE DRONE / AIRCRAFT ITSELF MUST NEVER BE VISIBLE.

The final video must show ONLY the camera's point of view looking into the scene. Never show the drone, aircraft, quadcopter, FPV drone, helicopter, wings, propellers, rotors, arms, landing gear, body, silhouette, reflection, shadow, or any other physical part of the flying platform.

The camera moves through the scene according to the RED LINE.

Follow the red trajectory exactly, including its starting point, direction of travel, curves, turns, waypoints, relative movement, and endpoint.

At the same time, the camera looks according to the WHITE ARROWS.

The movement direction and viewing direction are independent.

DO NOT automatically point the camera in the direction of movement.

If the red line moves in one direction while a white arrow points in another direction, follow both instructions simultaneously:

camera position follows the RED LINE

camera orientation follows the WHITE ARROW

The red trajectory has priority for camera movement.

The white arrows have priority for camera orientation.

Maintain this relationship continuously throughout the entire shot.

Use smooth, physically realistic aerial camera motion with natural inertia, gentle banking, realistic acceleration and deceleration, and subtle stabilization. The movement should feel like a real professional aerial camera, not like a computer-generated object.

One continuous shot only.

No cuts.

No transitions.

No teleportation.

No sudden jumps.

No abrupt camera swings.

No automatic reorientation to the direction of travel.


Preserve the original scene exactly as shown in the underlying image. Do not change the environment, architecture, terrain, objects, subject, lighting, colors, textures, weather, or geometry.

Allow perspective, framing, and apparent subject scale to change naturally only because the camera follows the specified red trajectory and white viewing directions.

The annotations are NOT part of the scene.

The final video must contain:

ONLY the clean original scene + the specified camera movement.

The final video must NOT contain:

red lines, white arrows, waypoints, trajectory markings, annotations, guides, overlays, graphics, text, UI elements, watermarks, or any visible drone or aircraft.

The first frame and every subsequent frame must show a clean scene with no visible production guides and no visible flying platform.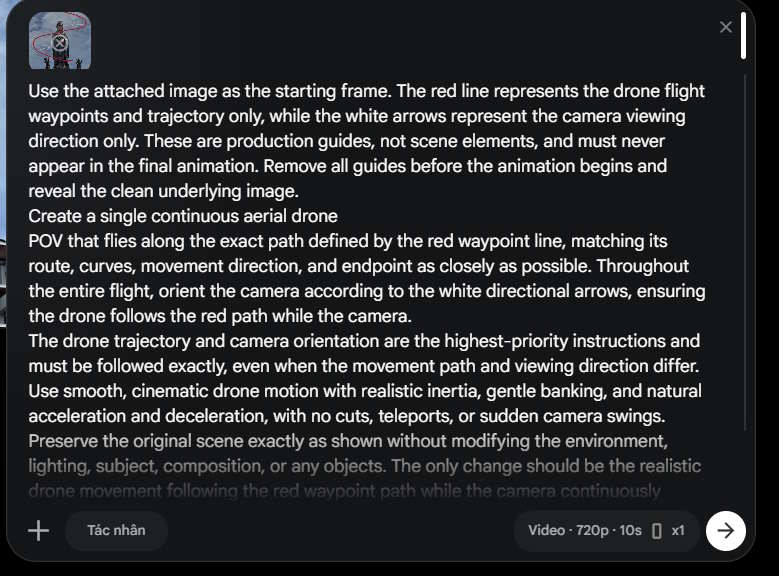
That's it—you'll have a complete drone video generated from nothing but those simple drawn lines. Here's an example of what the final result looks like:
Generating Drone Videos on Google Flow: The Prompt Method
Step 1:
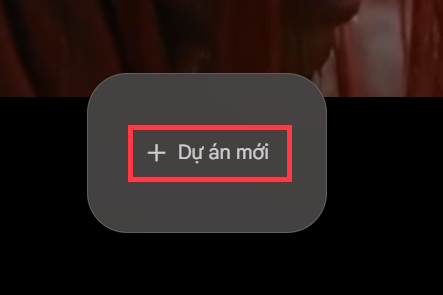
Visit Google Flow using the link below, then click New Project to get started.
Step 2:
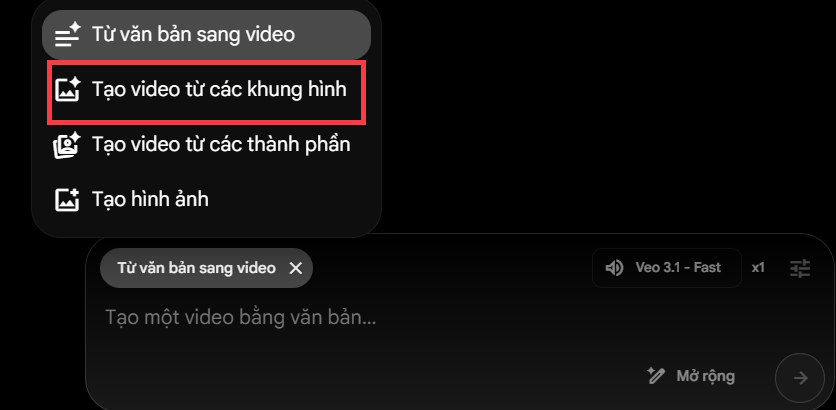
In Google Flow's AI content creation menu, select "Create video from images".
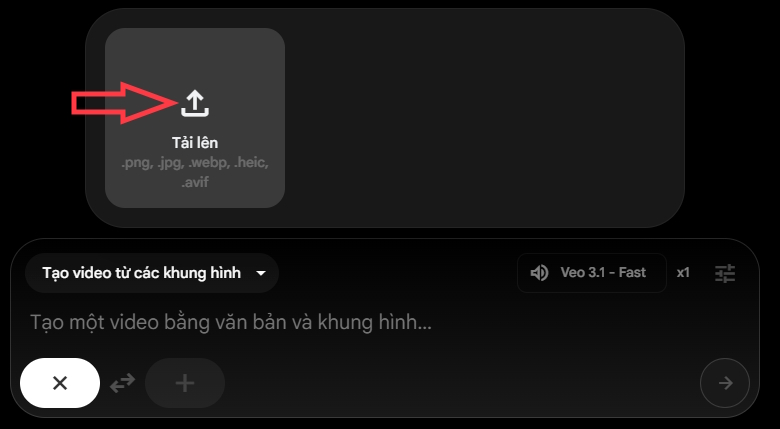
Then upload your image to convert into video. Pro tip: choose images with minimal subjects and few small details cluttering the background—they work best.
Step 3:
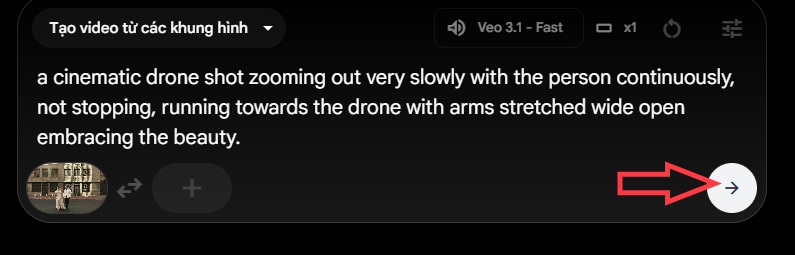
Enter a command in the text field to tell Google Flow how to transform your image into drone footage.
"A cinematic drone shot zooming out very slowly with the person continuously, not stopping, running towards the drone with arms stretched wide open embracing the beauty."
Feel free to customize this prompt to match your vision. Once you're happy with it, click the arrow icon to send your request to Google Flow.
Step 4:
Wait for Google Flow to process and convert your image into video.
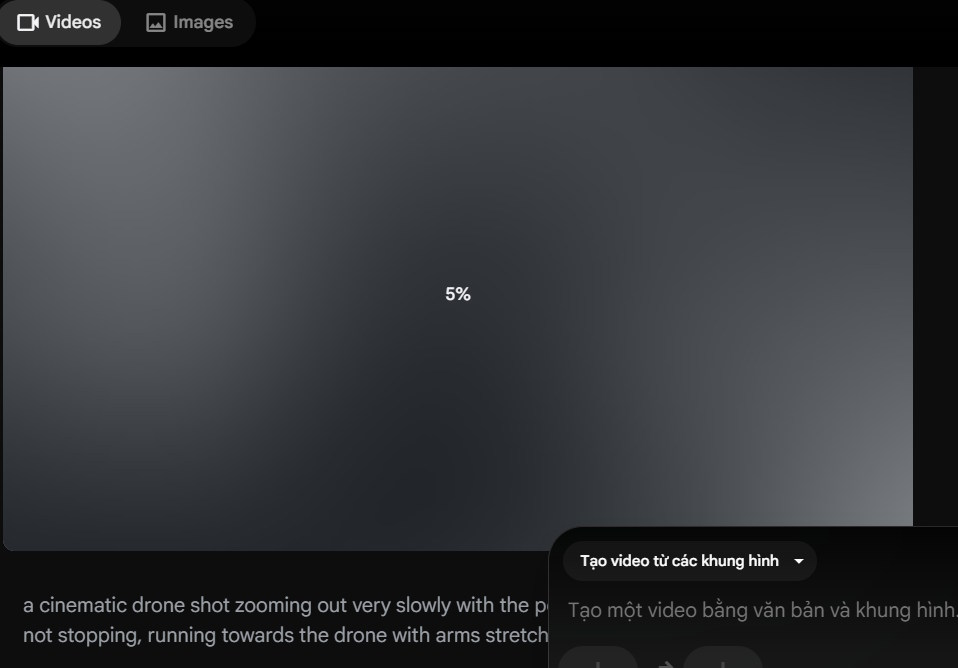
Your finished drone video will display smooth, artistic motion. To save it, hit the download button.
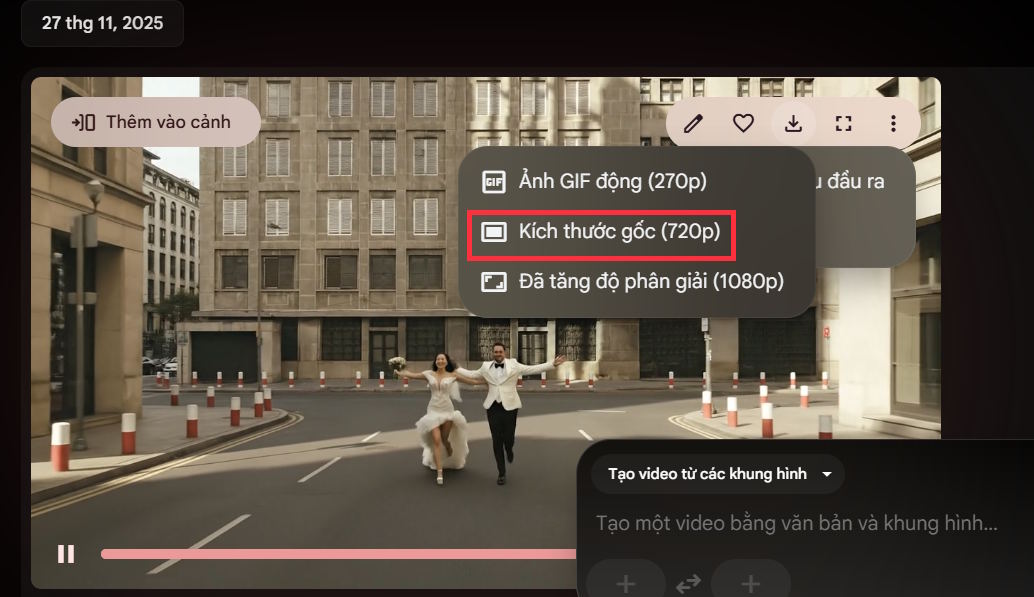
Every Google account comes with 100 free credits to create videos. Free accounts will see a Veo watermark in the bottom-right corner of generated videos.
Description: Learn how to transform a static photo into smooth, professional-looking aerial drone footage using Google Flow's AI and simple line annotations.

No Comment to " Generate Cinematic Drone-Style Videos from Still Images Using Google Flow "