Publishing Gemini Apps to Google Sites: A Complete Guide

Building custom apps with Google Gemini has become increasingly accessible, allowing users to create virtually any application that streamlines their workflow. What's interesting here is that Google just rolled out the ability to publish these Gemini-powered apps directly to Google Sites—making it possible to share your creations with others beyond just the Gemini interface itself.
Previously, Gemini apps were confined to the Gemini editor. Now you can spin up a dedicated Google Sites page, add supporting content, and publish it for broader access. Here's exactly how to do it.
How to Export Your Gemini App to Google Sites
Step 1:
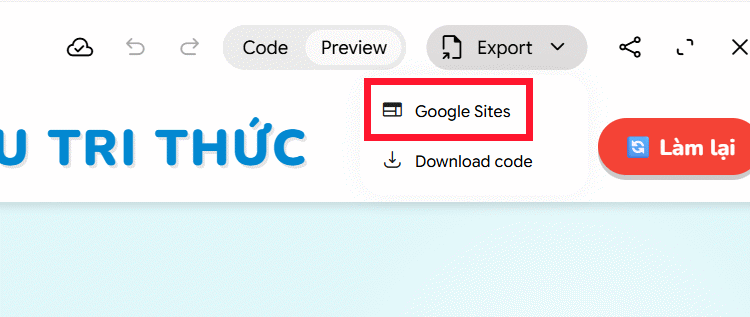
Open your app in Gemini and locate the Export button. Select Google Sites from the menu to begin transferring your app.
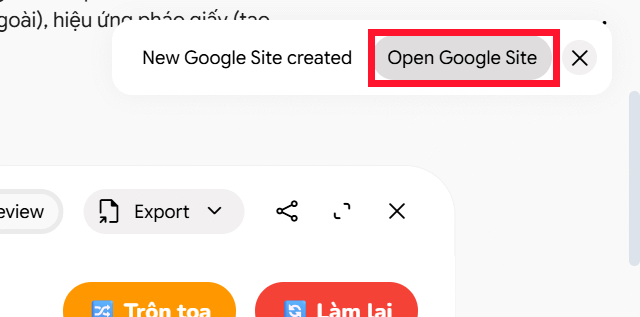
Once the export completes, you'll see a confirmation message in Gemini. Click Open Google Site to view your newly published app.
Step 2:
Your app will now display within Google Sites. At this point, you can refine and modify the app as needed.
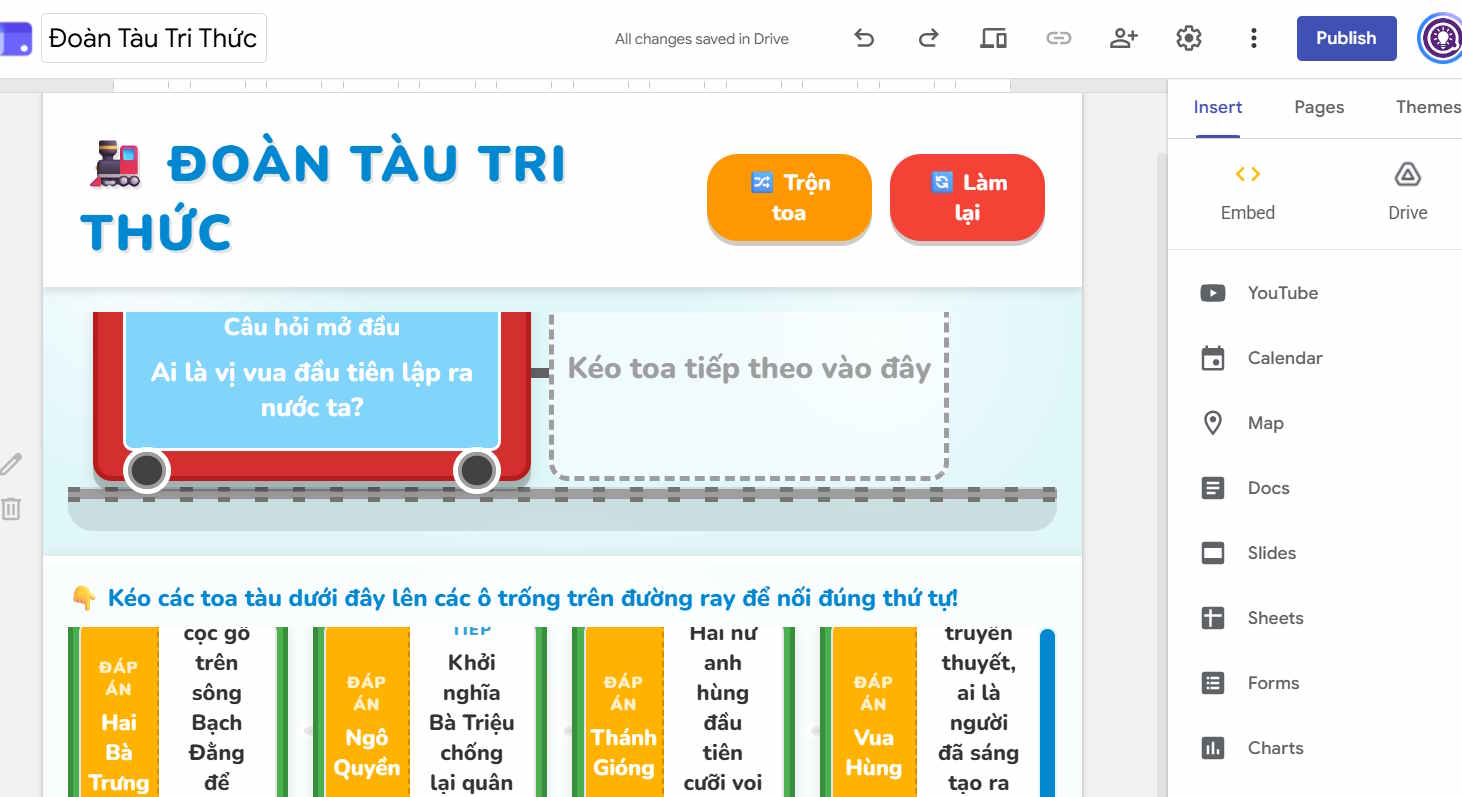
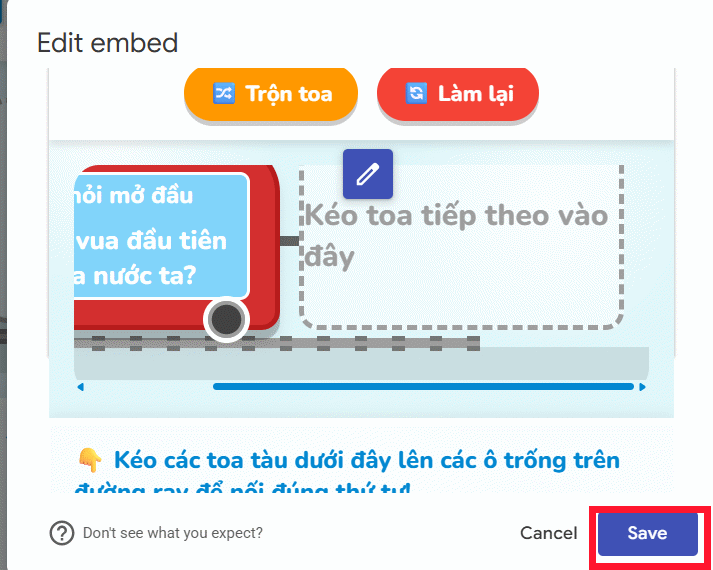
Since Gemini apps run on code, clicking the pencil icon will open the source code editor where you can make technical adjustments.
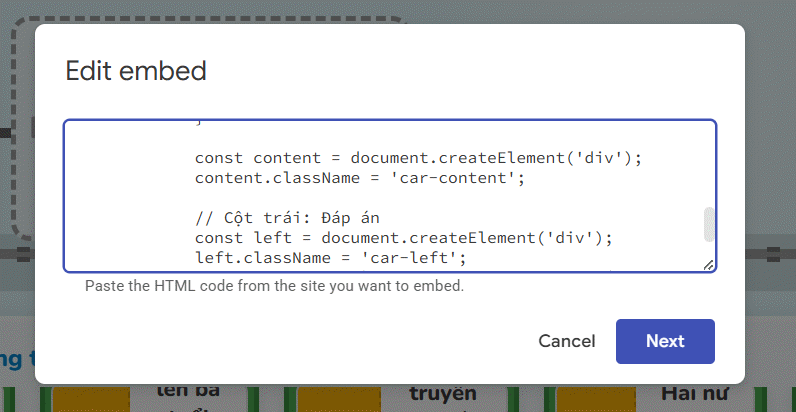
After making your edits, tap Next to preview how your changes look in the live environment.
Step 3:
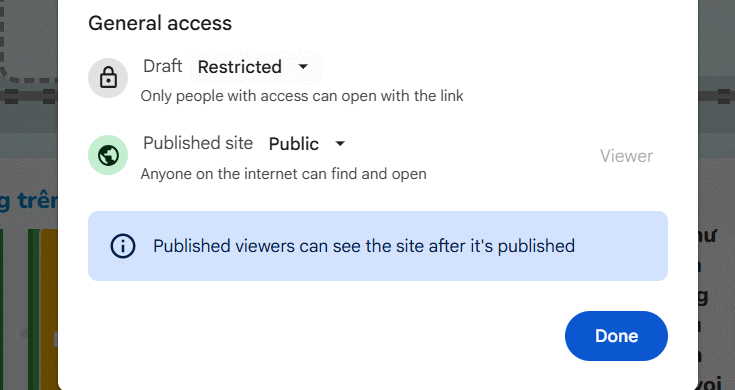
Select the share icon and configure the sharing settings to control who can access your app.
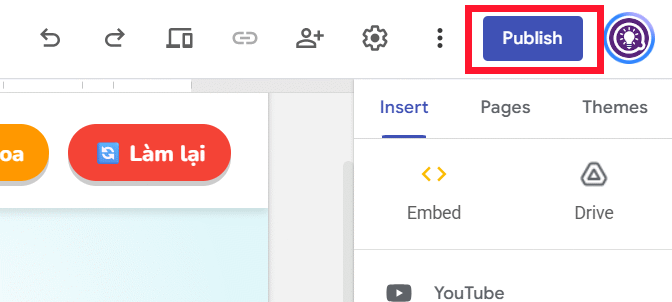
Next, hit Publish to push your app live on Sites.
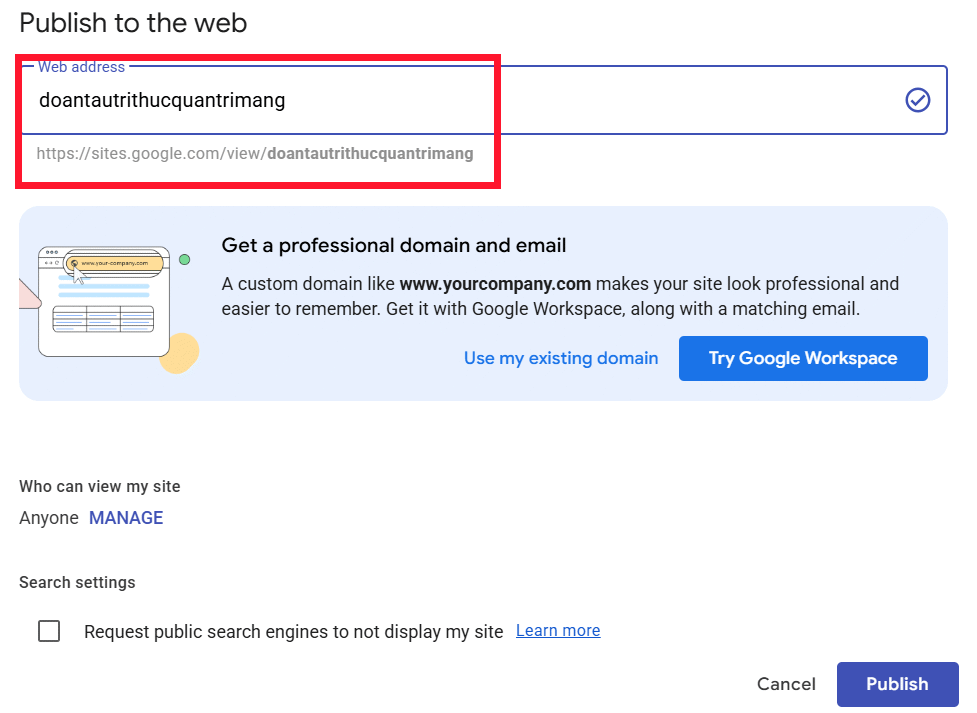
You'll be prompted to name your URL path. Once you're satisfied, click the Publish button below to finalize everything.
Sharing Your Gemini App on Google Sites
Once your app is live on Google Sites, distribution is straightforward—just share the link. The real concern is making sure your sharing permissions are set correctly before you send it out.
Step 1:
Click the dropdown arrow next to Publish and select View Published site to see the finished product.
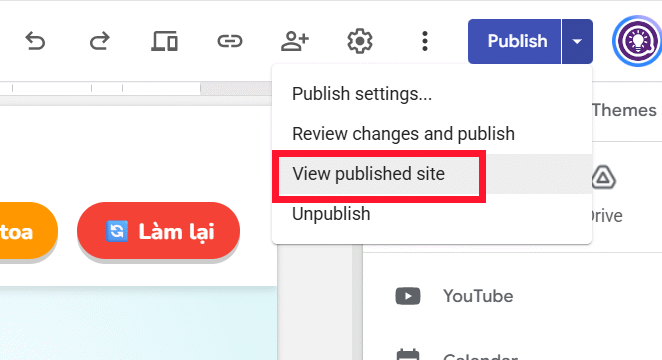
In the preview screen, you can click the pencil icon to jump back into the Sites editor if you need to make any last-minute tweaks.

Step 2:
Simply copy the URL from your browser's address bar and start sharing it—via email, messaging apps, or social media.
Pro tip: Before going public, test the link using an incognito window or a different Google account to verify that people without special permissions can actually access it.
Step 3:
Need to pull the plug? Just select Unpublish whenever you want to take it offline.
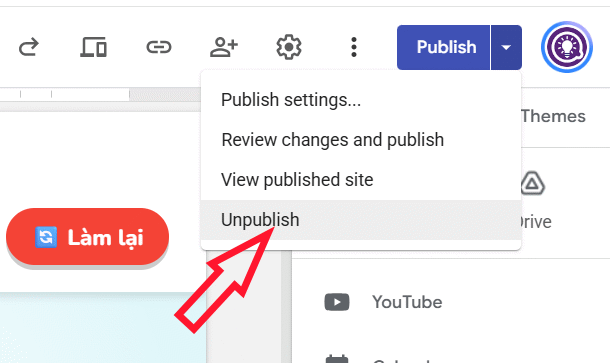
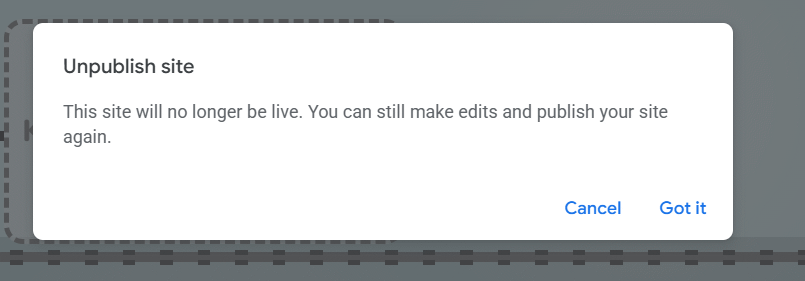
After confirming, the shared link stops working immediately. No one will be able to access the app anymore.
Description: Learn how to export and share your Google Gemini apps on Google Sites with this step-by-step tutorial.
Related Articles
- Getting Started with Google Flow Music: Complete Guide to Creating Music and Playlists
- Where Did the Copilot Button Go? Here's Why It Disappeared from Your Office Apps
- How to Create Teacher Appreciation Day Slides Using AI
- Generate 25+ AI Diagrams in Minutes with FreeDiagram
- 4 Proven Strategies to Optimize Token Usage in Multi-Agent AI Systems

No Comment to " Publishing Gemini Apps to Google Sites: A Complete Guide "