Enhance Portrait Photos with Google Photos AI: A Complete Guide
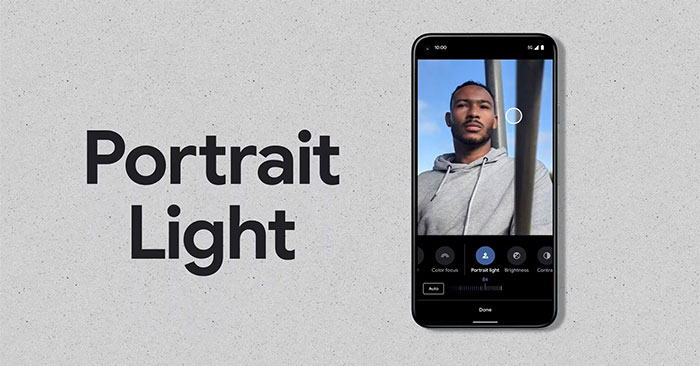
A stunning portrait depends on more than just your subject—the background plays a critical role too. When the backdrop is cluttered or distracts from your main subject, Google Photos' built-in AI can rescue the shot by applying a natural-looking blur effect. What's interesting here is that you don't need expensive photo editing software or the ability to reshoot the image.
This AI-powered feature intelligently separates your subject from the background, creating a portrait-mode blur that makes faces and figures pop. The best part? It takes just a few taps in Google Photos to transform an ordinary portrait into something genuinely impressive. Let's walk through exactly how to do it.
How to Enhance Portraits Using Google Photos AI
Step 1:
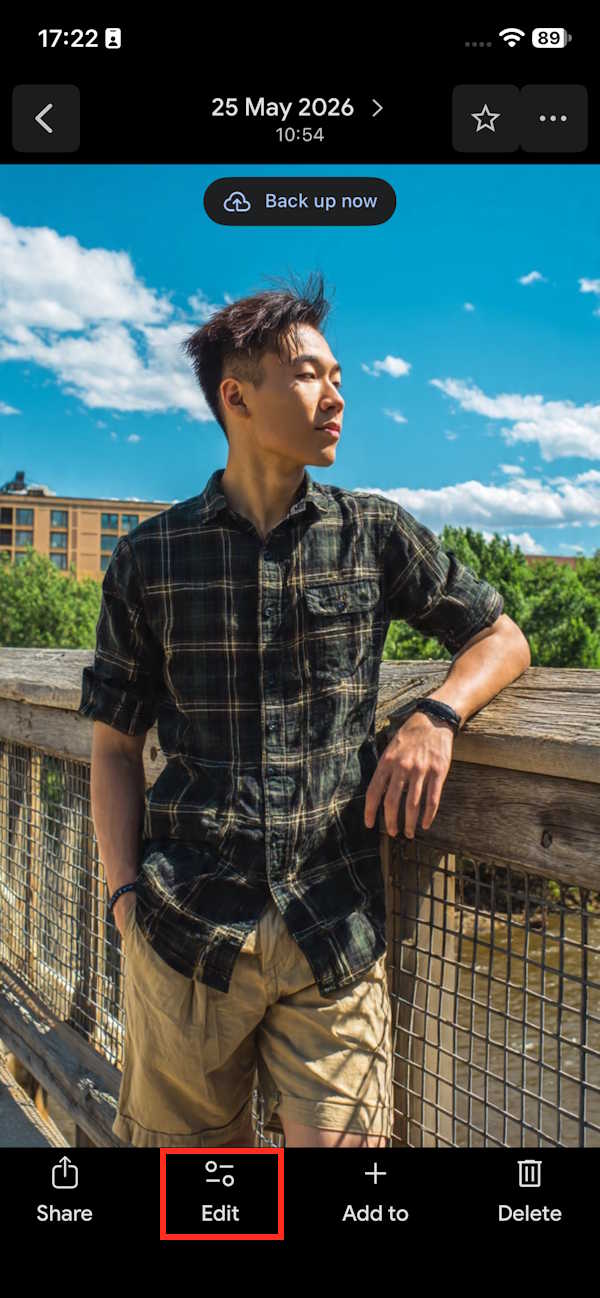
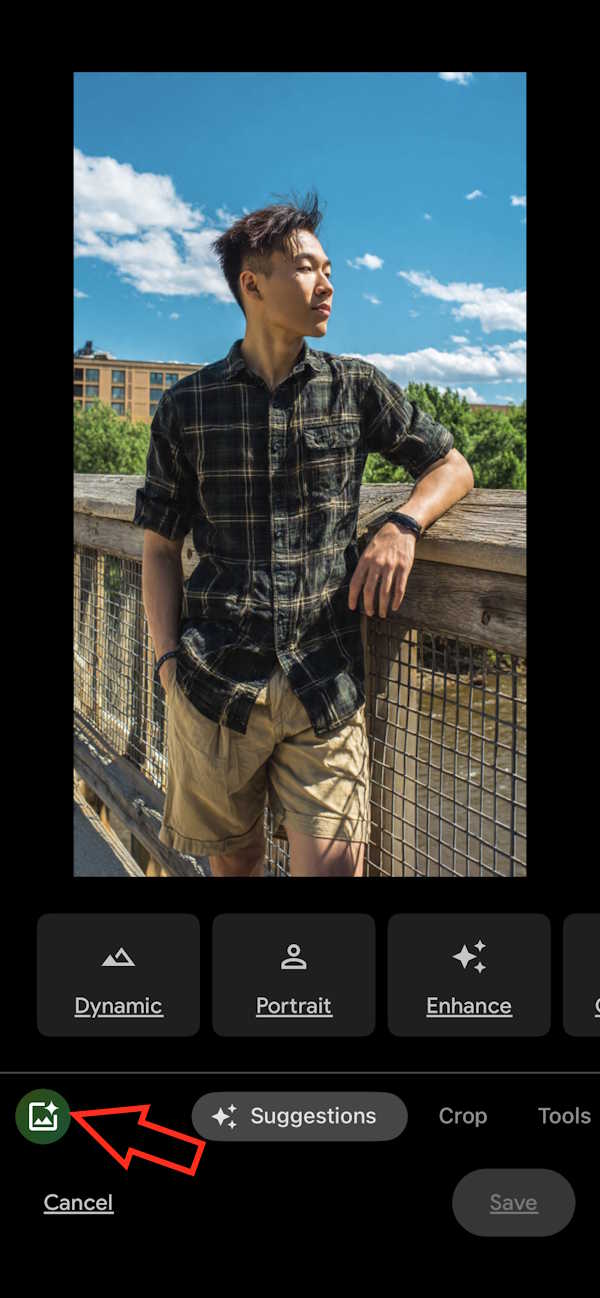
Open the portrait photo you want to improve, then tap Edit at the bottom of the screen. Once you're in the editing interface, locate and tap the Magic Editor icon in the bottom left corner, as shown below.
Step 2:
Google Photos will ask you to back up your image first. Tap Back up to proceed. Next, tap the AI icon positioned in the center of your image.
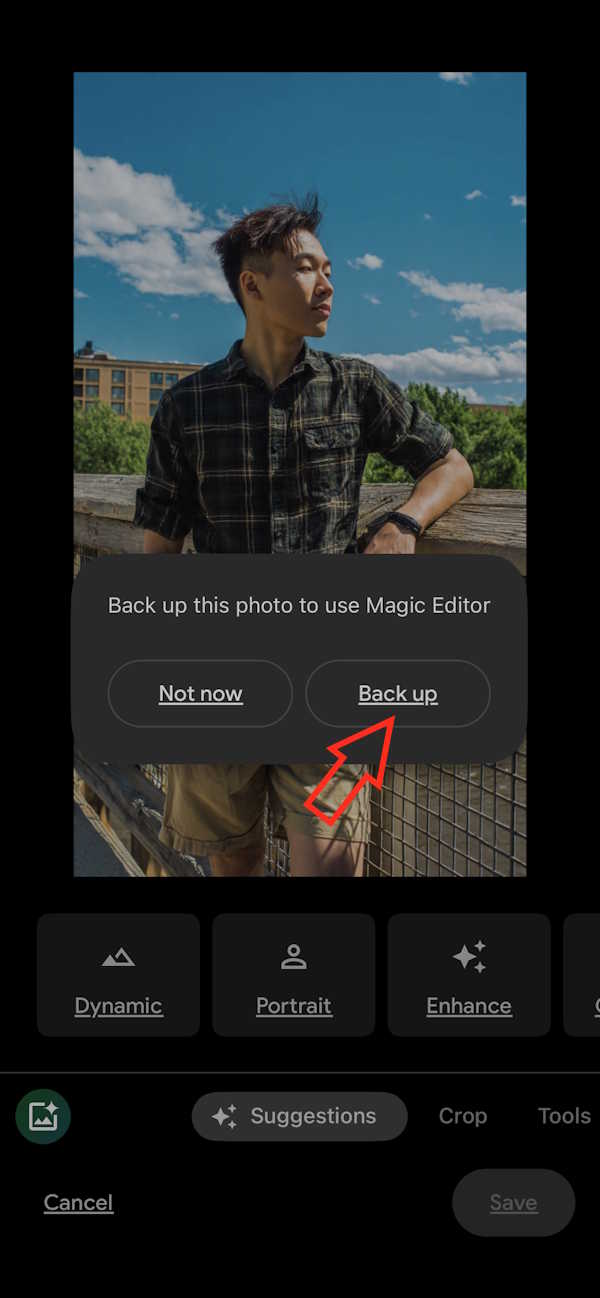
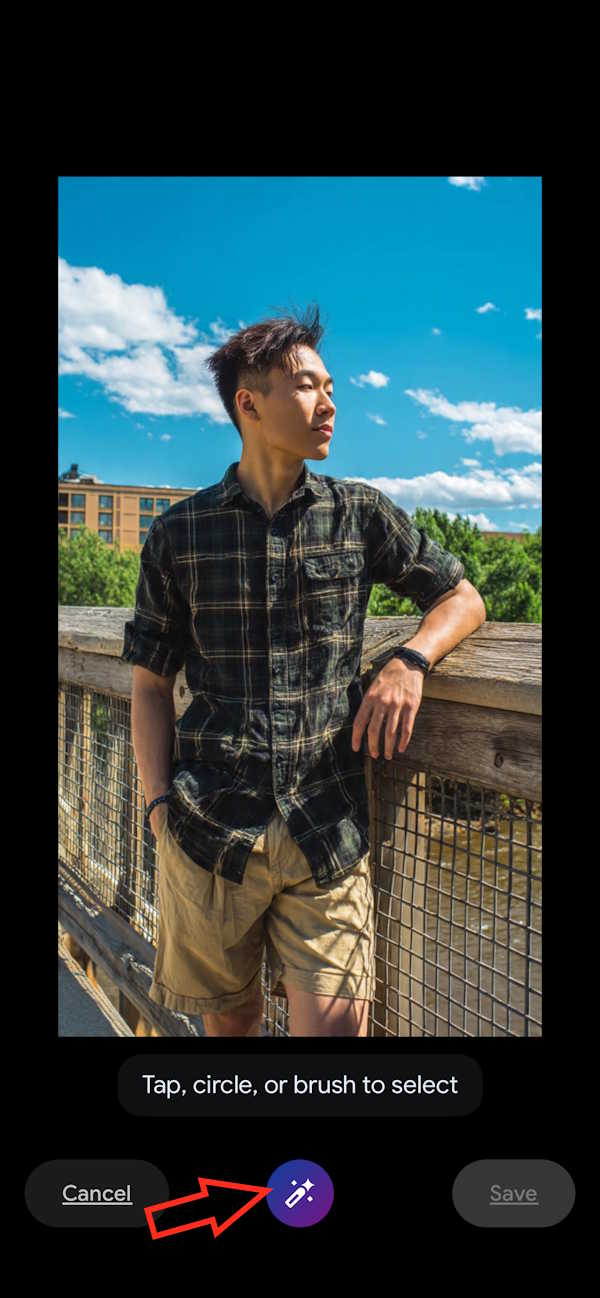
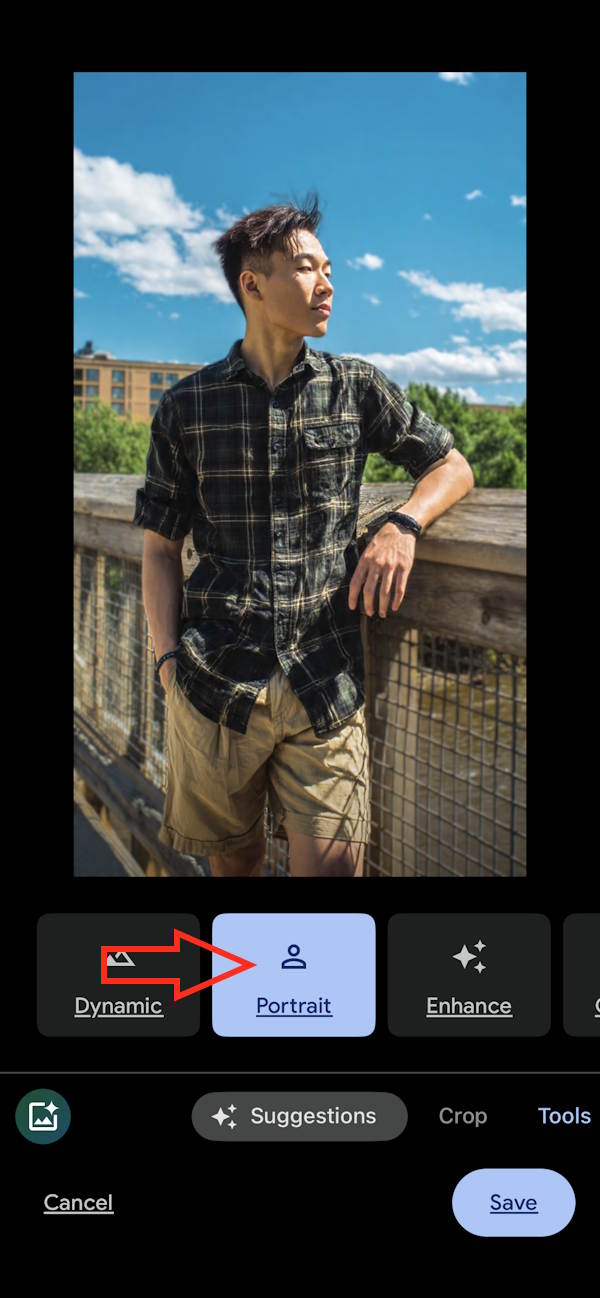
Now select Portrait to activate Google Photos' AI enhancement tools specifically designed for portrait photography.
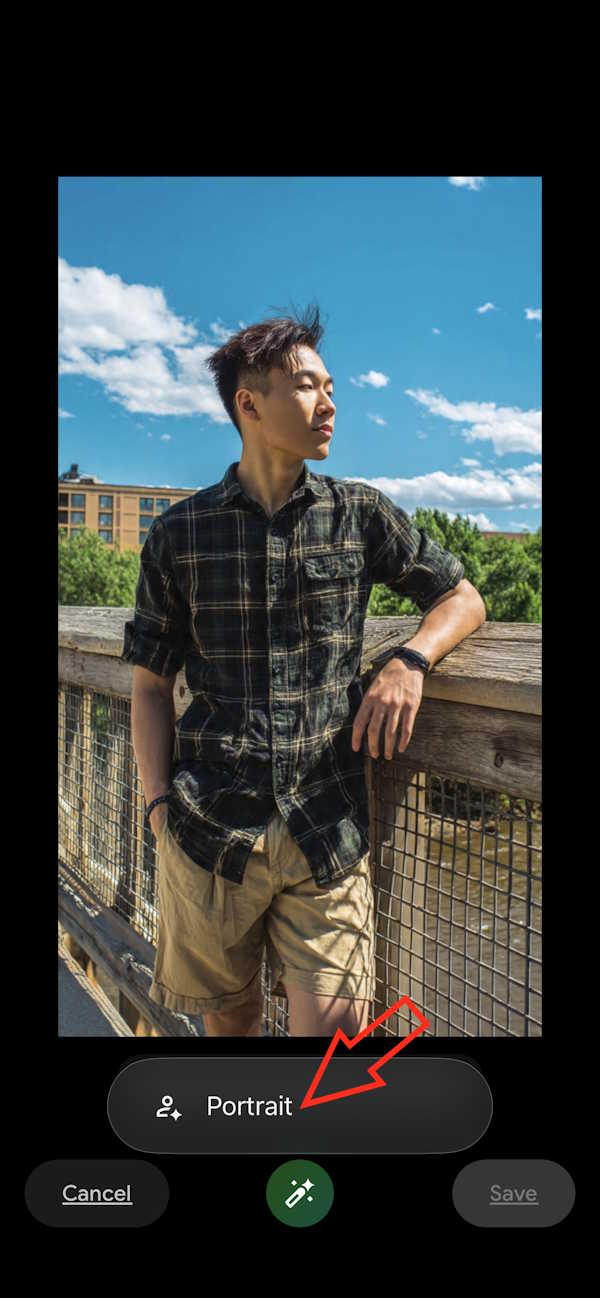
Step 3:
Wait a moment while the AI processes your image. You'll see the result: your background now has a blurred effect with two different intensity options. Swipe right to compare both versions of the AI-enhanced portrait.
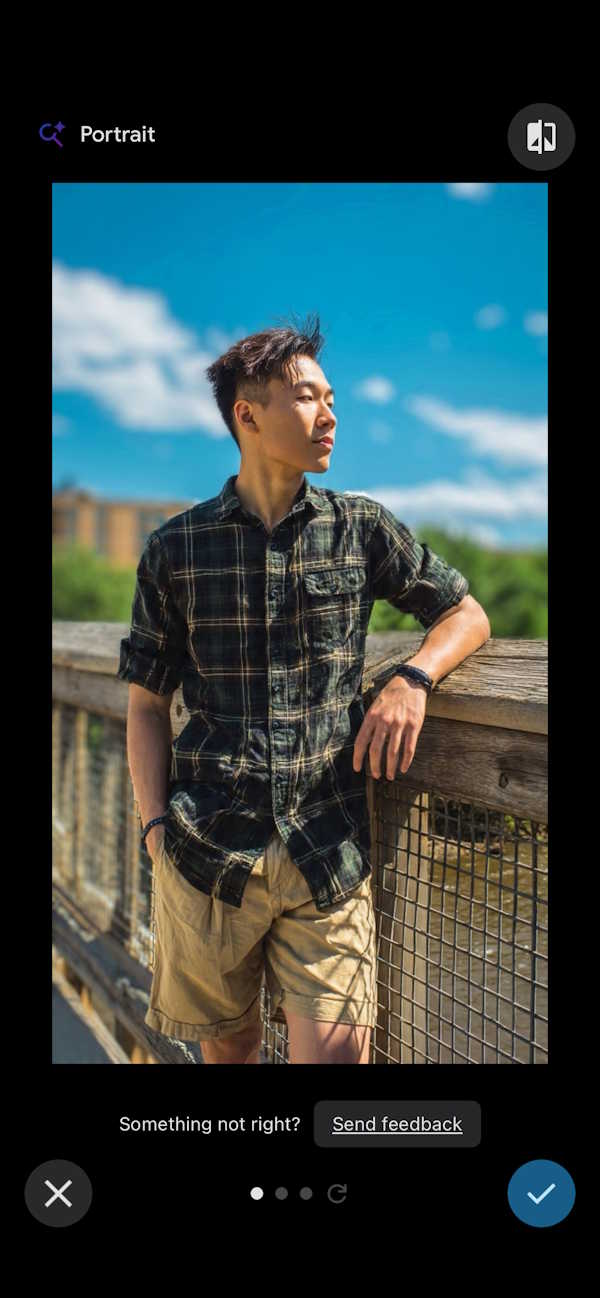
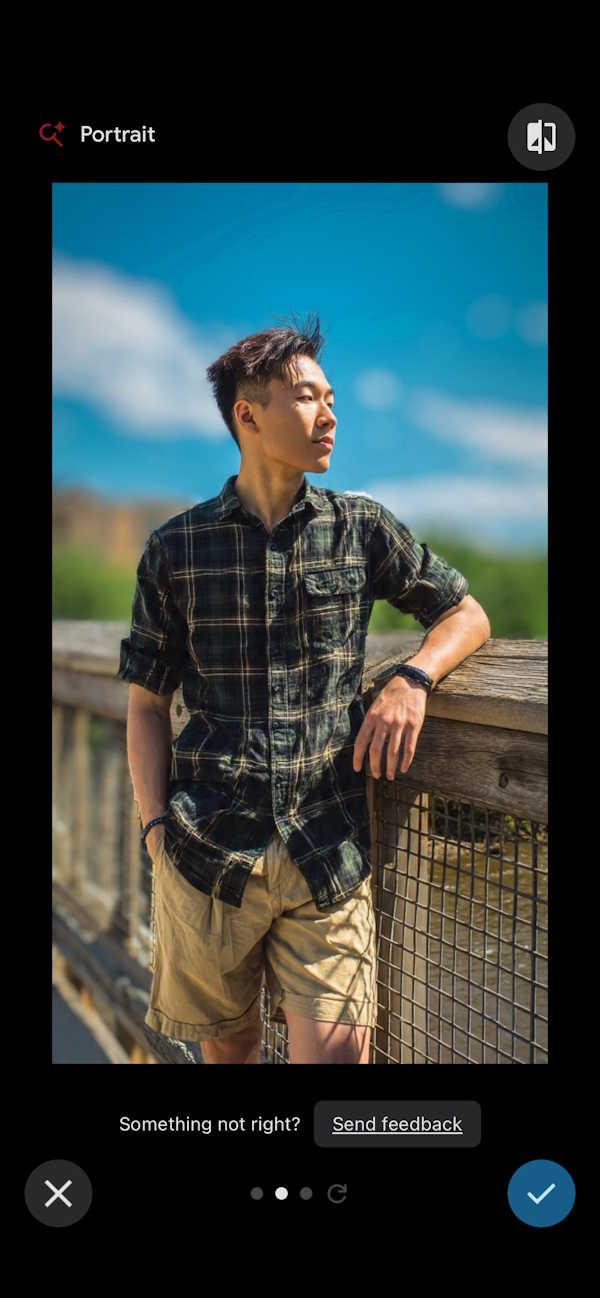
Scroll all the way down if you'd like Google Photos to generate additional blur variations. This is handy if neither of the initial two options quite meets your standards.
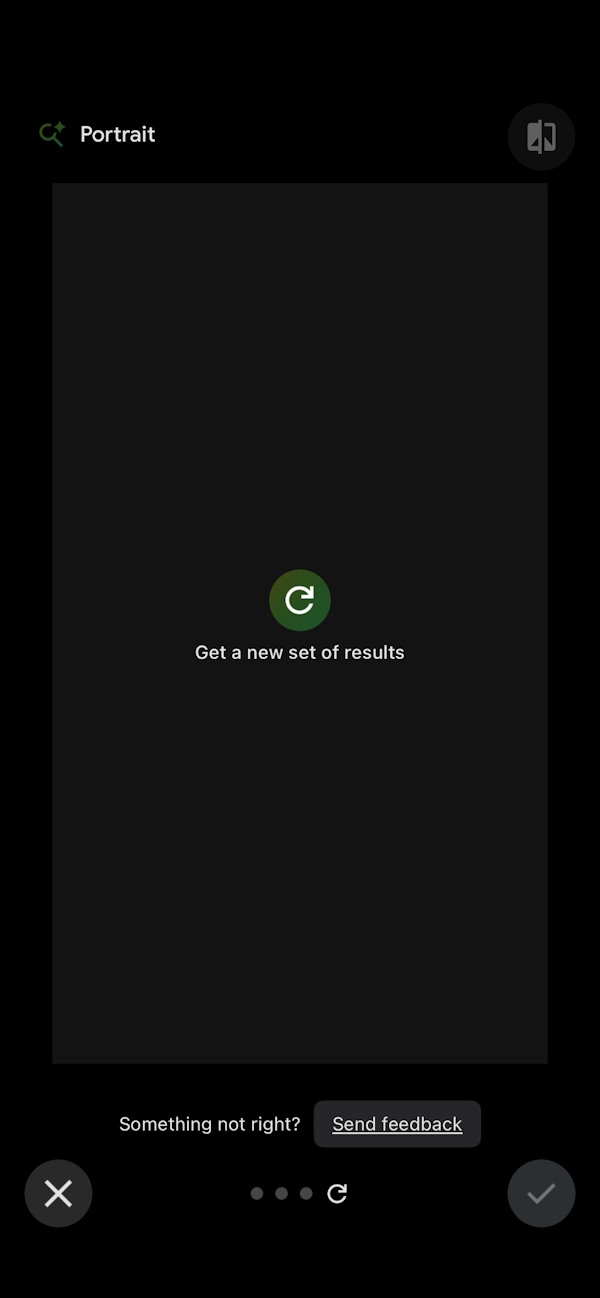
There's also an alternative option called Portrait Light if you'd prefer to adjust lighting rather than blur the background. Simply tap Portrait to begin fine-tuning the lighting on your portrait.
Is Google Photos' AI Background Blur Actually Good?
The real concern with any AI enhancement tool is whether it delivers quality results. Google Photos' background blur feature works by isolating your subject from the background, mimicking the natural bokeh effect you'd get from portrait mode on a smartphone camera. The tool excels with images that have clear subjects, distinct edges, and good contrast between foreground and background.
However, results depend heavily on your original image quality. Photos with sharp subjects, well-defined edges, and contrasting backgrounds typically produce the most natural-looking effects. The real challenge emerges with complex scenarios: messy hair, multiple people, or overlapping objects can confuse the AI, leading to imprecise blur application.
Quick tip: After applying the effect, carefully inspect the hair, shoulders, hands, and all edges of your subject. This ensures the background blur looks natural and doesn't create an obviously edited, cut-and-paste appearance.
Description: Learn how to use Google Photos' AI-powered tools to blur backgrounds and improve portrait photos without needing professional editing software.
Related Articles
- How to Seamlessly Transfer Conversations Between ChatGPT, Claude, and Gemini Using ThreadPort
- The Upload Button Paradox: How AI Tools Became Your Company's Biggest Security Risk
- Create Professional Promotional Videos with AI: A Step-by-Step Guide
- Perplexity vs ChatGPT: Which AI Assistant Should You Actually Use?
- Midjourney vs Leonardo AI: Which AI Image Generator Should Beginners Choose?

No Comment to " Enhance Portrait Photos with Google Photos AI: A Complete Guide "