Use AI to Edit Photos Directly in Google Slides

Google Slides now includes powerful AI-powered image editing tools built right into your presentation workspace. Instead of jumping between multiple applications, you can swap backgrounds, expand images to fit your layout, and remove unwanted elements directly within Slides. What's interesting here is that all these edits happen through the image editor panel—no external software needed, and you get instant previews before committing to changes.
Every image edit in Google Slides runs through Gemini, which is integrated into your account. Here's how to use Gemini to transform your images while you work on your presentation.
In This Guide
Changing Image Backgrounds with AI
The background replacement feature lets you generate a completely new background based on your description. Just tell AI what kind of setting you want, and it'll create one that matches your subject and scene.
Step 1:
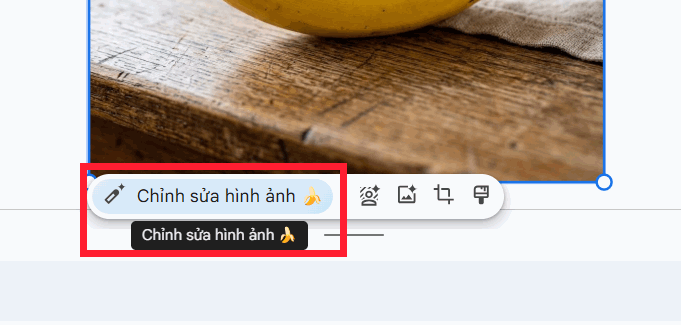
Click your image on the slide, then select Edit image from the menu below it.
Step 2:
The image editing panel appears on the right side of your screen. Now type your request in the prompt box to change the background to whatever style you prefer. Here's an example:
Replace the background with a dining table setting, keep the main subject and natural lighting unchanged. 
Gemini generates a fresh image with the new background exactly as you described. If you like the result, click it to insert directly into your slide.

Expanding Images with AI
Need more canvas space? AI can intelligently expand your image to fill your slide layout while keeping the main subject intact.
Go to Edit image from your slide, then write a prompt to expand the image in the direction you need. Be specific about dimensions and style. Here's an example:
Expand the image horizontally on both sides to a 16:9 ratio, add complementary scenery that matches the current background, and preserve the main subject.
The image expands in your requested direction with composition adjustments to match your layout. Click the result and select Insert to add it to your slide. Here's the original:

And here's the expanded version with the new dimensions applied:

Removing and Editing Image Details with AI
For more targeted adjustments, describe exactly what you want changed in the prompt box—specify which elements to modify, what to preserve, and what to keep untouched.
Type your editing instructions directly, noting which parts to edit, what details matter, which areas to leave alone, then send your request.

Gemini processes your prompt and returns a completely revised version.

If the result works for you, insert it into your slide.

Removing Image Backgrounds with AI
Want to isolate your subject from the background? AI can strip away distracting elements behind your main focus without manual retouching. The real concern is getting clean edges—Gemini handles this automatically when you provide clear instructions.
Click your image, then tap the background removal icon to start.

You'll see the background stripped away instantly.
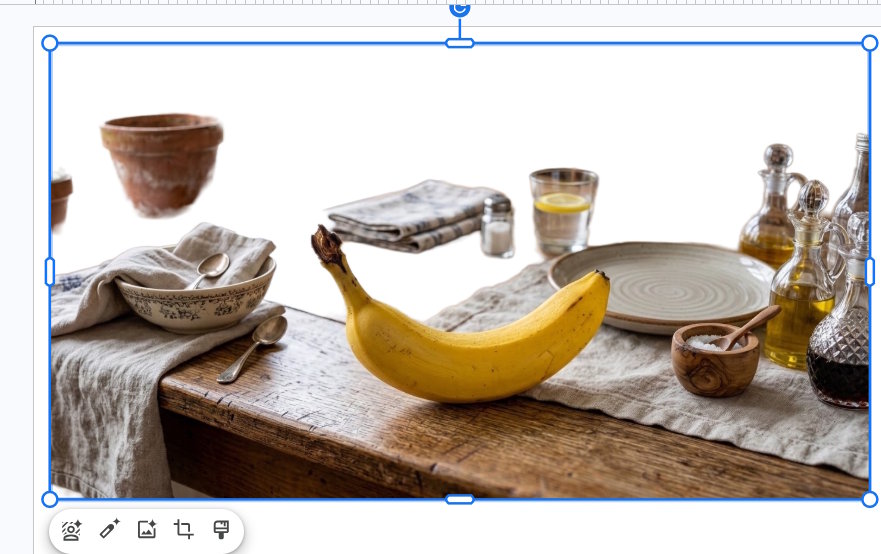
You can also use Gemini with a text prompt to remove the background for more control:
Remove the entire background behind the subject, preserve the subject and all key image details.
Now you have an AI-generated version with the background removed. Click to insert it into your slide if you're satisfied.

Prompt Examples for Image Editing
When writing prompts for image edits, be clear about what you want changed and what should stay the same. Describe the specific parts to modify, the elements to preserve, and your desired outcome based on your needs.
For Background Changes:
Replace the image background with a setting that complements the subject, keep the main subject and important details unchanged.For Image Expansion:
- Expand the image to add space around it, fill in details that match the current background, keep the subject and overall style intact.
- Expand the image on both sides, add scenery consistent with the current image, preserve the main subject.
- Expand horizontally to create more space on left and right, maintain the image's original style and feel.
- Expand vertically, add natural background elements above and below the current image.
- Expand to a square layout, add a matching background, and keep the main subject centered.
For Background Removal:
- Remove the image background while keeping the main subject and important details, ensure the result looks natural and matches the original.
- Remove everything behind the subject, preserve the subject and all key details in the image.
- Remove the background behind a person, keep the person's face, body, and clothing intact.
- Remove unnecessary objects and details in the background, preserve the main subject.
- Separate the subject from the background while protecting all subject details.
For Detail Editing:
- Edit the image as requested, modify only the described parts, and leave the subject and other details unchanged.
Tips for Better Results:
- Be specific about which parts of the image you want edited so AI understands your exact intention.
- Clearly state what should remain unchanged if certain elements matter to you.
- When changing or expanding backgrounds, describe the new setting in a way that fits naturally with the original image.
- If results miss the mark, refine your prompt with more detail and try again.
- Keep in mind that AI editing capabilities vary depending on your account type and which Google Slides features you have access to.
Description: Learn how to use Google Slides' built-in AI tools to change backgrounds, expand images, remove backgrounds, and edit details without leaving your pres
Related Articles
- How to Download and Export Your ChatGPT Conversations
- Create Seamless Repeating Patterns with PatternedAI in Canva
- Claude Pro vs API: Which Option Actually Makes Sense for You?
- How to Change Gemini Live's Voice to Your Preferred Option
- Gemini Now Lets You Create Images by Speaking—No Typing Required

No Comment to " Use AI to Edit Photos Directly in Google Slides "