How to Generate and Edit AI Images in Google Vids
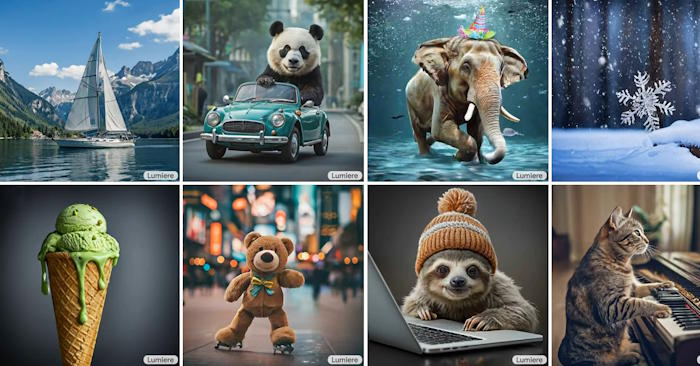
Google Vids goes beyond video creation, AI voiceovers, and automated editing—it also lets you generate custom images on the fly based on your text descriptions. The platform produces unique visuals that match your video's theme, significantly boosting visual appeal while cutting production time. What's interesting here is how seamlessly these AI-generated images integrate into your workflow without needing external design tools.
This guide walks you through creating and refining AI images in Google Vids, step by step. By the end, you'll know how to produce professional-quality visuals in whatever style you prefer.
How to Create AI Images in Google Vids
Step 1:
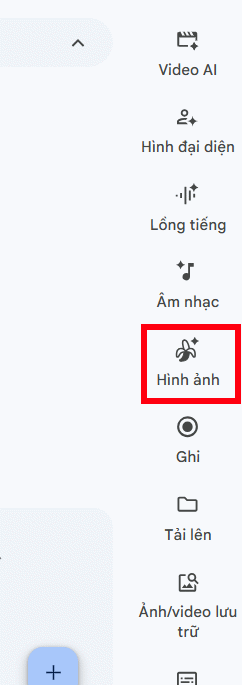
Sign into Google Vids using your Google account. On the right side of the screen, click the Image tool to start generating your AI image.
Step 2:
A prompt interface appears. Enter your image description exactly as you envision it. You can write in English or Vietnamese—both work fine.
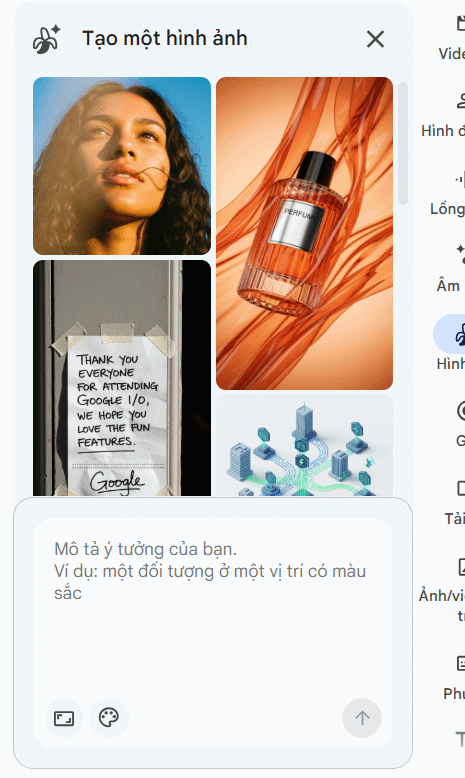
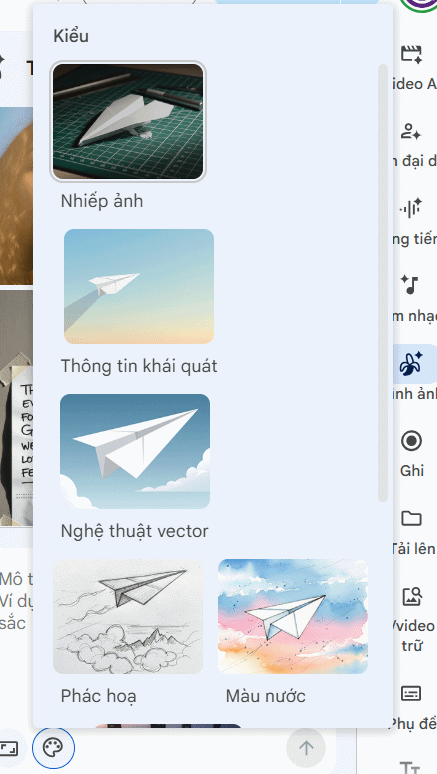
Next, select a style for your image, or include style details directly in your prompt.
Choose your image dimensions: landscape, portrait, or square format.
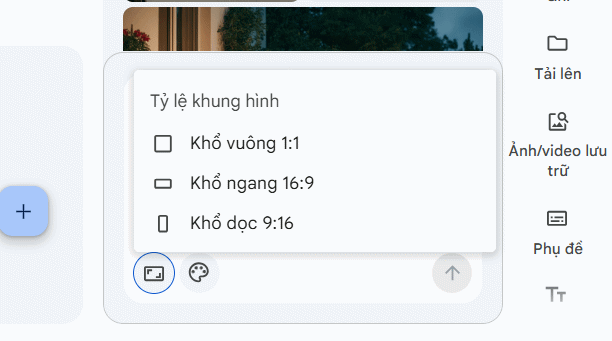
Step 3:
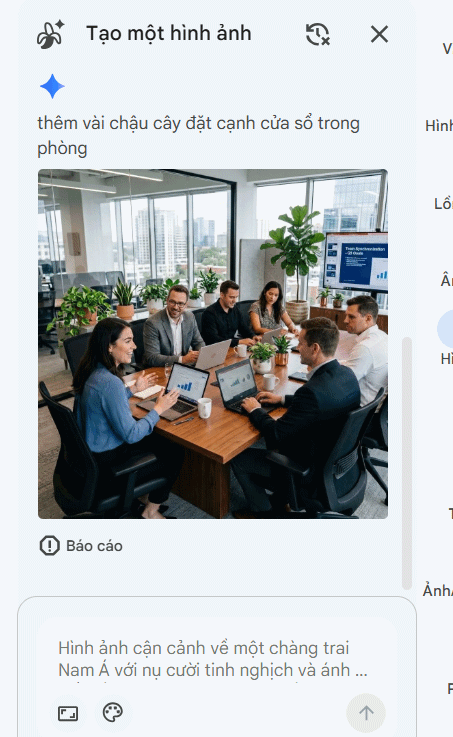
Wait for Google Vids to generate your AI image. Once it appears, click the arrow icon to insert it into your project.
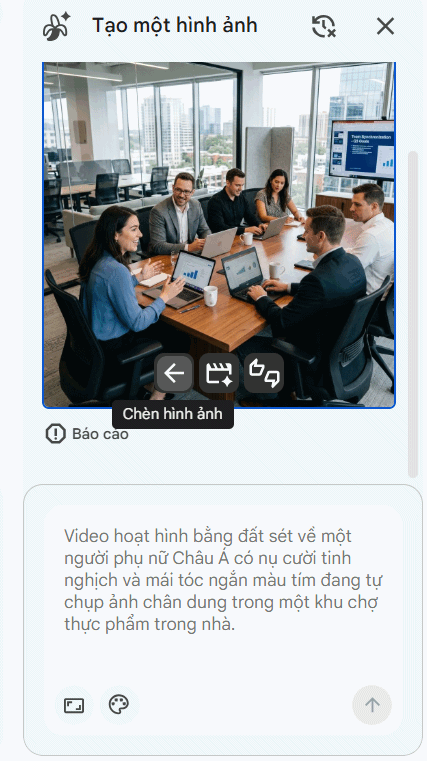
Alternatively, you can convert your image into a video using the dedicated icon shown here.
Step 4:
Once inserted, your image gains access to several editing options. For instance, click Edit Image to regenerate or refine it.
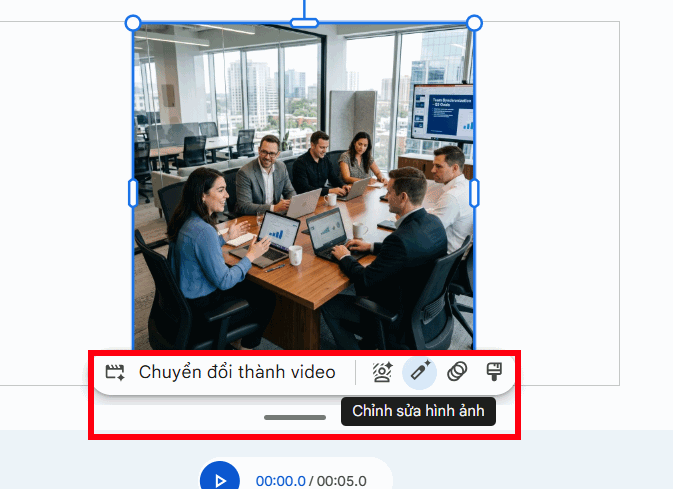
Enter a description of the changes you want to make, then submit.
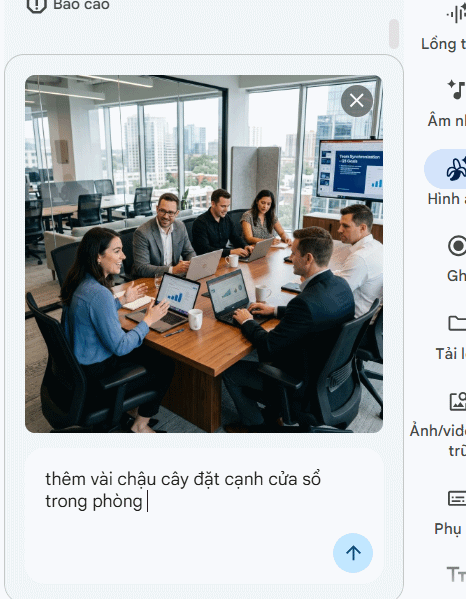
Google Vids regenerates the image and adjusts the layout to match your original, giving you an improved version. Insert it into your project as usual.
Best Practices for AI Image Generation in Google Vids
- Be specific with details: Instead of "a cat," try "a fluffy orange cat lounging on a gray sofa in morning sunlight." The more detailed your prompt, the closer the result matches your vision.
- Add context and style: Include information about location, perspective, and artistic style (3D, animation, watercolor, photorealistic, etc.) so the AI delivers what you actually want.
- Keep prompts concise and focused: Avoid rambling descriptions or mixing multiple unrelated ideas in one prompt. Each prompt should concentrate on a single subject or scene.
- Regenerate if unsatisfied: AI produces different results for the same prompt. If the first attempt misses the mark, regenerate or refine your description rather than settling.
- Review before inserting: Examine layout, colors, proportions, and content carefully to ensure the image aligns with your video's message.
- Respect copyright and content standards: Use AI images only for appropriate purposes. Avoid creating copyrighted content, misleading imagery, or material unsuitable for your audience.
How to Edit Images in Google Vids
Once you've added images to Google Vids, you can refine them using built-in editing tools or AI-powered text commands. Thanks to these AI features, you can transform images on the fly without relying on external editing software.
Two particularly useful functions are background removal and AI-powered image editing. These shine when you want to highlight your subject, create visual impact, or adjust images to fit your video's layout. Simply select an image on the canvas and choose your desired editing tool.
Remove Image Backgrounds in Google Vids
Strip away unwanted backgrounds directly within Google Vids using the Remove Background tool.
Click on your image, then select the Remove Background option.
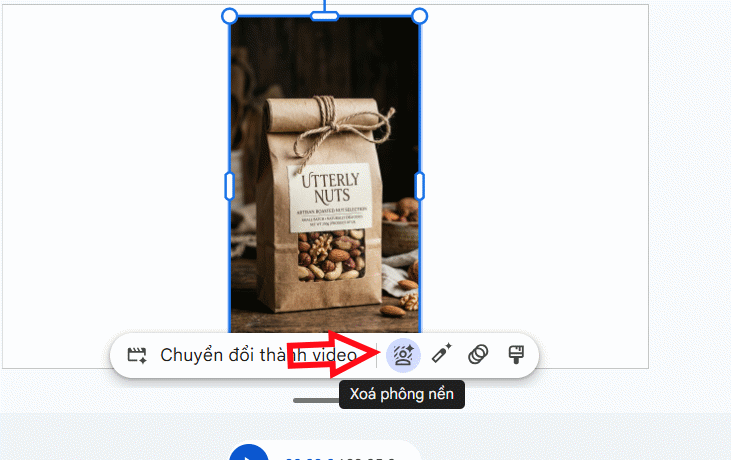
Google Vids automatically processes the image and removes the background while preserving your main subject. You'll immediately see the result.
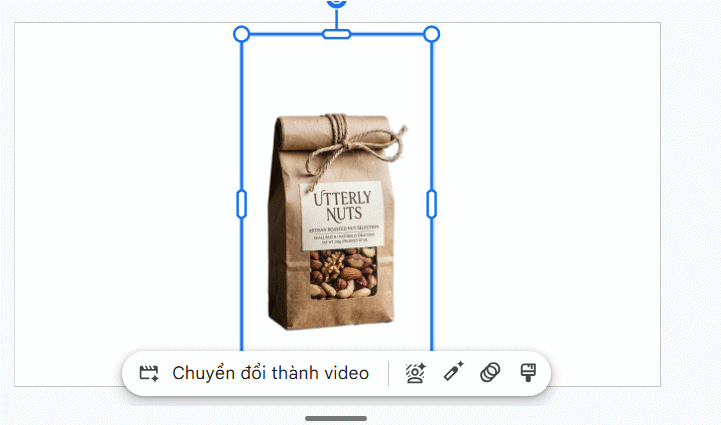
If the result looks good, keep using the background-removed version in your video.
Note: Background removal is permanent within the editor. There's no built-in undo option for this specific operation. If you need the original, use the undo button to revert to the previous state.
Edit Images in Google Vids Using AI Commands
Click on your image, then select the AI edit icon.
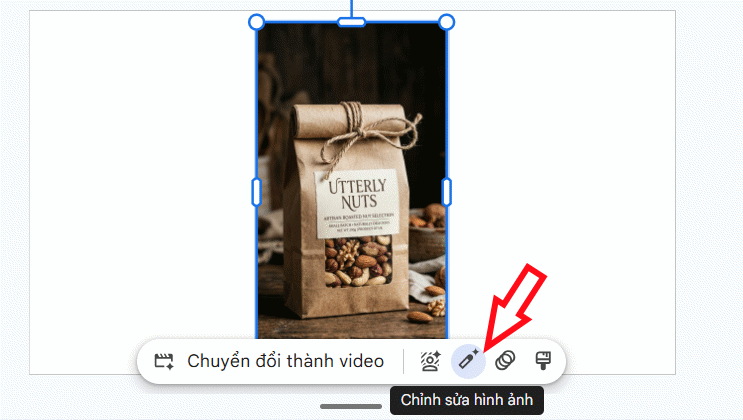
A command box appears on the right side. Type your editing instructions to modify the image. For example: "add a white cat to the image."
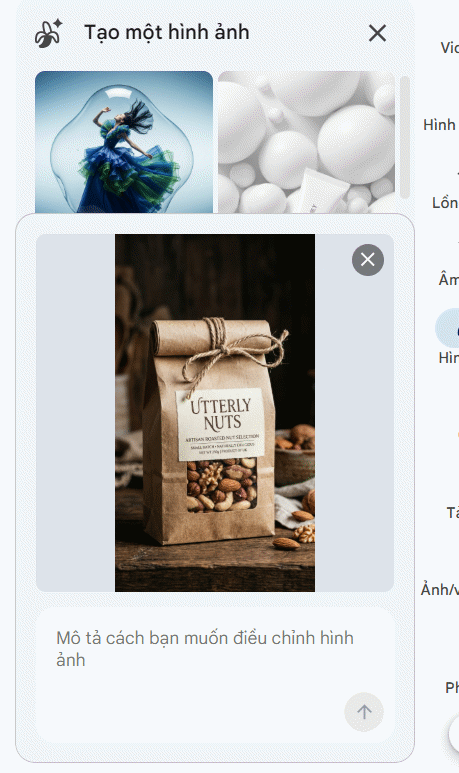
The result is an entirely refreshed image. If you like it, click the arrow to insert it back into your project.
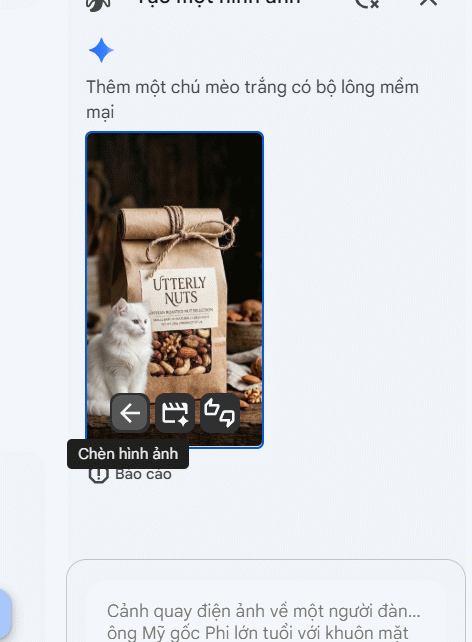
Here's the final result after AI editing:
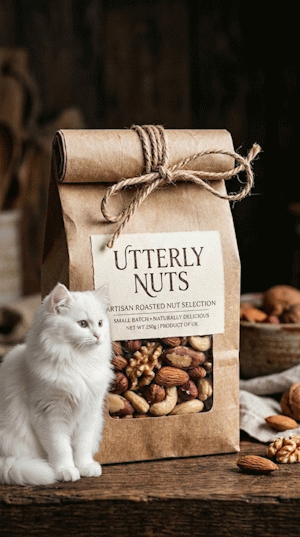
After AI-generated edits complete, review the image before replacing it in your scene. This safeguard prevents accidentally using a version that doesn't meet your standards. Keep in mind that AI suggestions may occasionally produce unexpected results, so always verify output quality before finalizing.
Description: Master Google Vids' AI image generation tool. Learn step-by-step how to create, customize, and edit stunning visuals for your videos.
Related Articles
- Enhance Your Google Slides Presentations with Gemini's AI Writing Tools
- How to Find and Use AI Prompts for Image and Video Generation on PromptHero
- How to Disable Gemini in Chrome's Search Bar
- ExcelMerger Pro: Combine Multiple Excel Files Into One
- How to Enable or Disable AI Watermarks in Windows Photos

No Comment to " How to Generate and Edit AI Images in Google Vids "